
Garnet Sewalong: Steps 10 & 11
Welcome to the last day of the Garnet Sewalong! Today we’re going to finish the sleeves and hems and you’re going to have a finished Garnet, woot woot!
{If you’re just joining us, check out the Garnet Sewalong Intro post here}
Want to see me sew all of the steps on video? Join the Cosmic Sewing Club via the paid tier of my Substack to get access of the sewalong posts with BONUS VIDEO!!

NOTE FOR SEPARATE CUFFS:
Before we start, if you’re finishing your sleeves with the separate (flat) cuffs rather than with the elastic casings shown in this sewalong, follow the steps in this tutorial to finish your sleeves: [How to add a cuff to a gathered sleeve] and then come back here for the hems.
STEPS 10 & 11. FINISH SLEEVES AND HEMS (at the same time)
In the pattern, Step 10 and 11 are presented separately, in case you opt for a separate cuff, but a lovely thing about the elastic casings is that you use the exact same technique as the hems, so for this sewalong, I’m doing them together, which feels like a cheat somehow, but really isn’t!
If you didn’t already fold and press 1/4 inch [6 mm] and then another 5/8” [16 mm} towards the wrong side along the bottoms of the sleeves for the elastic casings, go ahead and do that now.
Repeat for the hems, but with 3/4” [19 mm] for the second fold rather than 5/8”. PIN!

Now sew along the second fold - edgestitch at 1/8” [3 mm] away from the fold — all the way around the bottoms of the sleeves. Leave a 1-2” [3-5 cm] gap open at the inseams for the elastic.
Repeat for the garment hem.
PRESS!

Next, cut your cuff elastic into two pieces to the lengths given in the pattern (see page 21 for the chart); alternatively you can measure around your forearm and add an inch or more [a few cm] for ease and overlap.
Using a safety pin or bodkin, thread the elastic through the casing channel and back out the other side.

Overlap the ends by 1/2” [13 mm] and sew together with a zig zag stitch.

CHECK FIT: Try the top on and make sure the elastic doesn’t feel too loose or too tight, and adjust as needed.
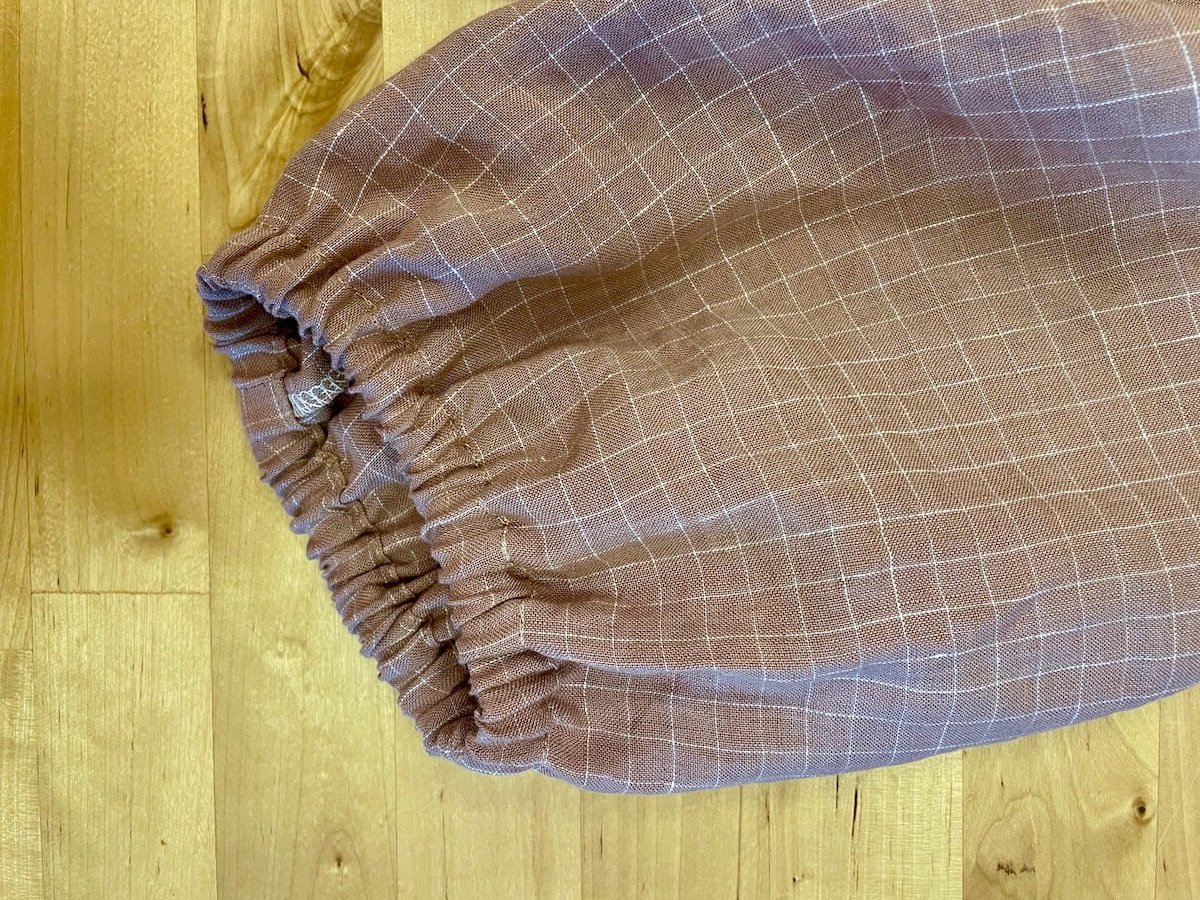
Once you’re happy with the width, sew the openings shut. The ends of your sleeves will look like this:
Hurrah, hurray! Your beautiful Garnet top is ready to wear! Go ahead and give that Garnet a few extra presses with the ol’ iron, and get ready to strut your stuff with your fun new top!

CONGRATULATIONS — YOU’VE COMPLETED THE GARNET SEWALONG!
Have you been sewing along with these posts? Tag me (@madebyrae) and use the hashtag #MBRgarnet when you share your pics! Thanks for joining in our sewalong!!
Get pattern details, view size and yardage charts, and materials on the Garnet Page.
Need the pattern? You can find it in my shop: