Garnet Sewalong: Add the Tucks
Welcome to this BONUS POST of the Garnet Sewalong! (the main post for Day 4 is here)
In this post I’m going to show you how to add tucks to the sleeves and body of the Garnet pattern, ala “view b,” which is Step 8 of the pattern instructions.
The tucks are optional - you don’t have to add them if you don’t want to. I chose not to add them to the sample top for the Garnet sewalong to keep things as simple as possible, but they are a really fun feature so if you have a chance to add them, definitely do!! They look especially great in a solid fabric or near-solid print that will allow the tucks to stand out and be seen.
Note: If you want the tucks, you need to cut out your sleeve and front/back pattern pieces along the “cut here for view b” cutting lines. For more details on cutting out Garnet, head to Day 1 of the Garnet Sewalong.
I made this a standalone post because you can sew the tucks at any point while you’re sewing Garnet, as long as you do it before you sew the side seams, so basically anytime between Steps 1 and 9.
I usually add the tucks right after I cut out my pieces, but you can also do it after you attach the sleeves (the way it’s shown in the pattern instructions) or somewhere in between! Entirely up to you!!
TRANSFER TUCK MARKS
In the first post of the sewalong, I showed you how to transfer the tuck marks to your fabric pieces, and hopefully you’ve already done that. If you didn’t do that, now’s a good time to go back and do that!
{For each tuck, you should have marked a fold line across the piece, plus two notches on each side above and below the fold line.}
SEWING THE TUCKS
To add the tucks, you press, pin, and sew each tuck individually, then repeat for the other tuck and then press again before moving on to the next piece. As you can maybe tell, pressing is critical in order to get nice-lookin’ tucks.
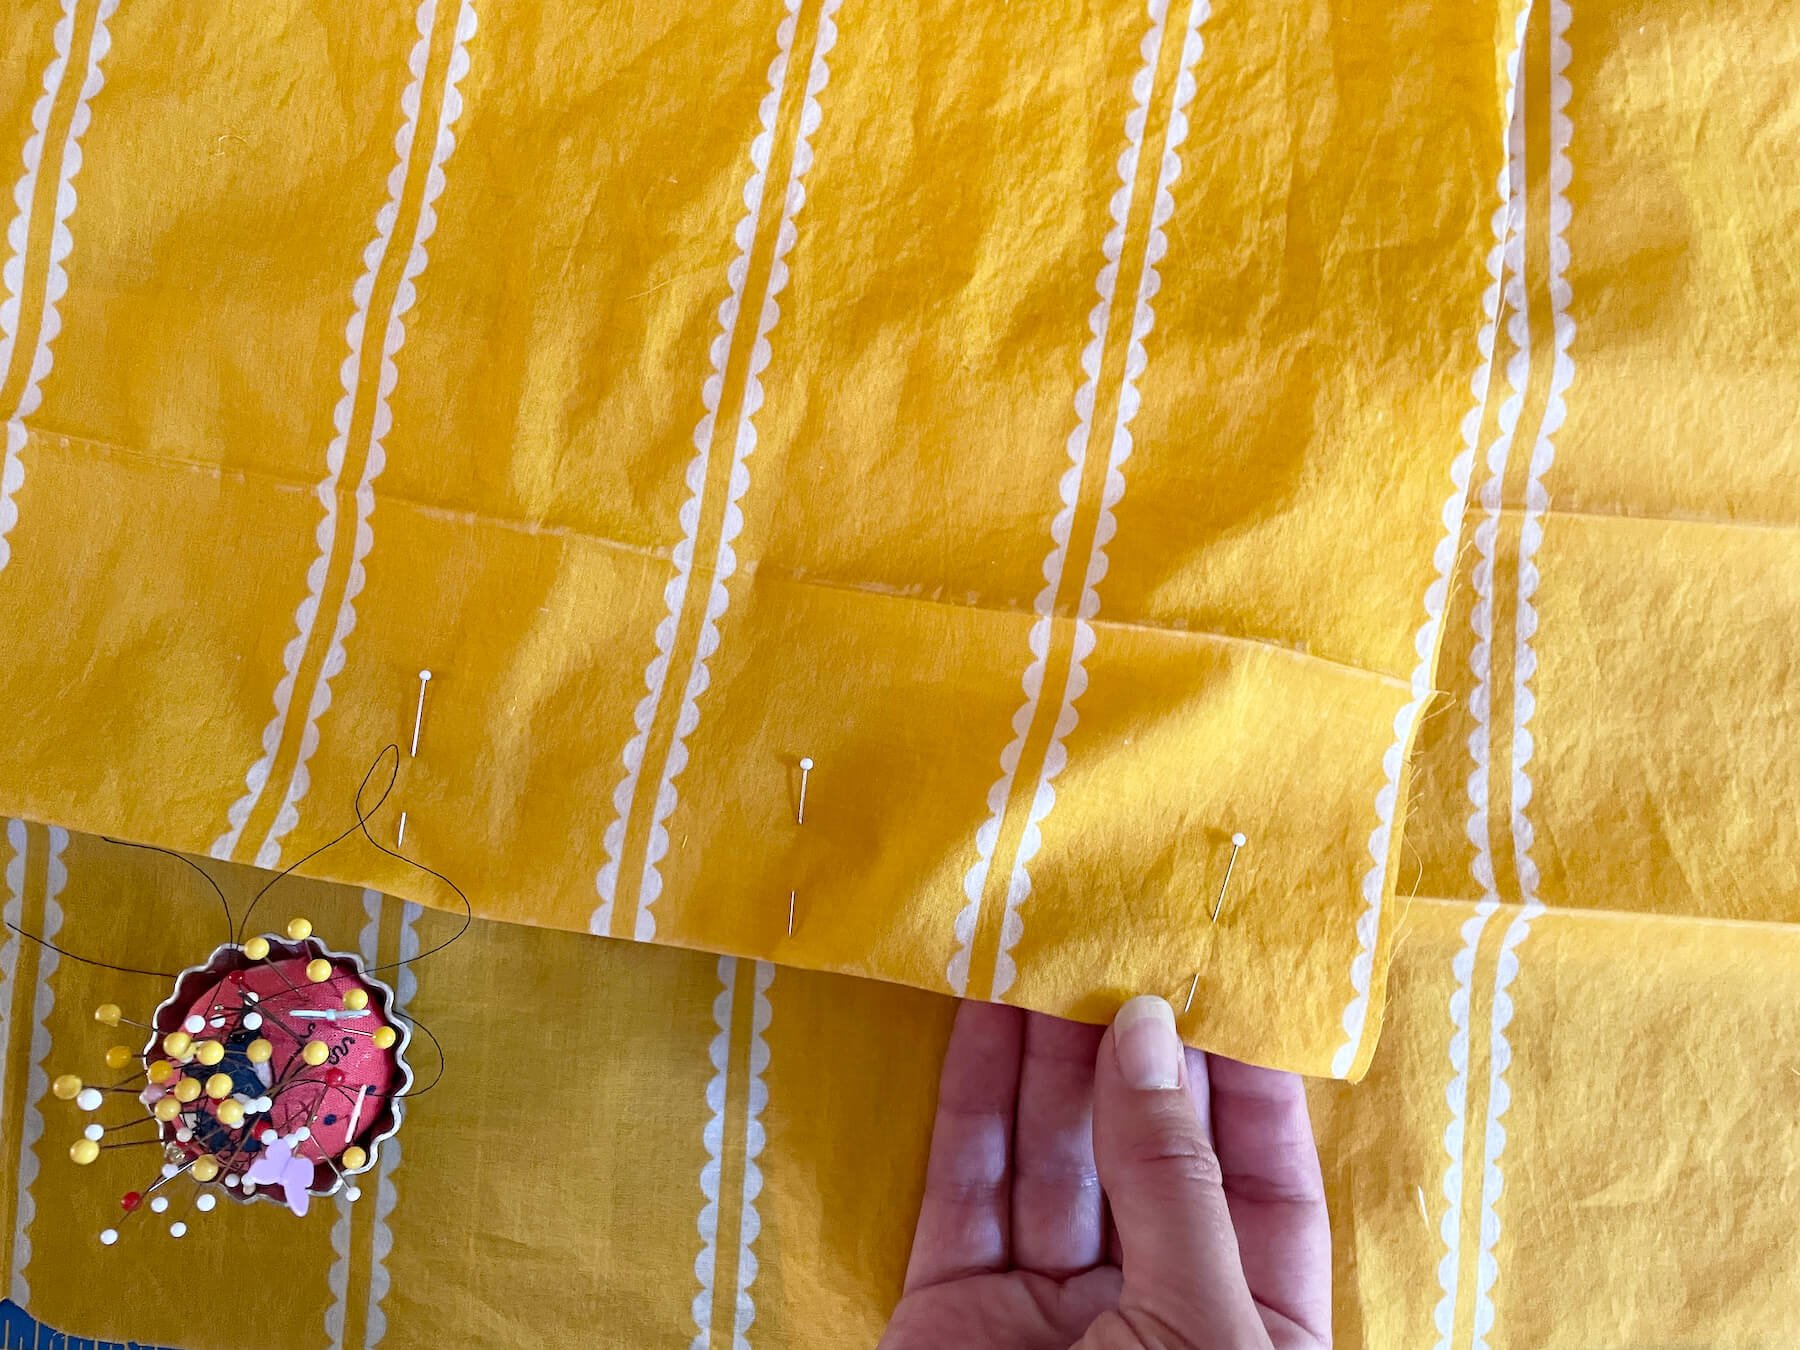
Start by bringing each set of notches together, folding the fabric along the fold line, and pressing each fold along the line like this:
Repeat until you’ve pressed each one of the tuck fold lines to create a crease along the fabric.
Now fold, pin and sew each tuck, one at a time. Use the seam marking lines on the throat plate of your sewing machine to make sure that the width of each tuck is uniform.
🔥 hot tip 🔥 Put a piece of painter’s or washi tape on the throat place along the line to make it easy to follow!
For the sleeves, sew each tuck with a 5/8” [16 mm} wide seam allowance.
For the front and back (body) pieces, sew each tuck with a 3/4” [19 mm} wide seam allowance.
Press each tuck downward and repeat unti you have completed two tucks for each piece.
So basically, you’re making a tuck at each fold line:
And when you’re finished, you’ll have eight tucks, total:
You’re ready to move on to the next step of sewing Garnet!!
Go to Day 4: Sewing the sleeves and side seams


