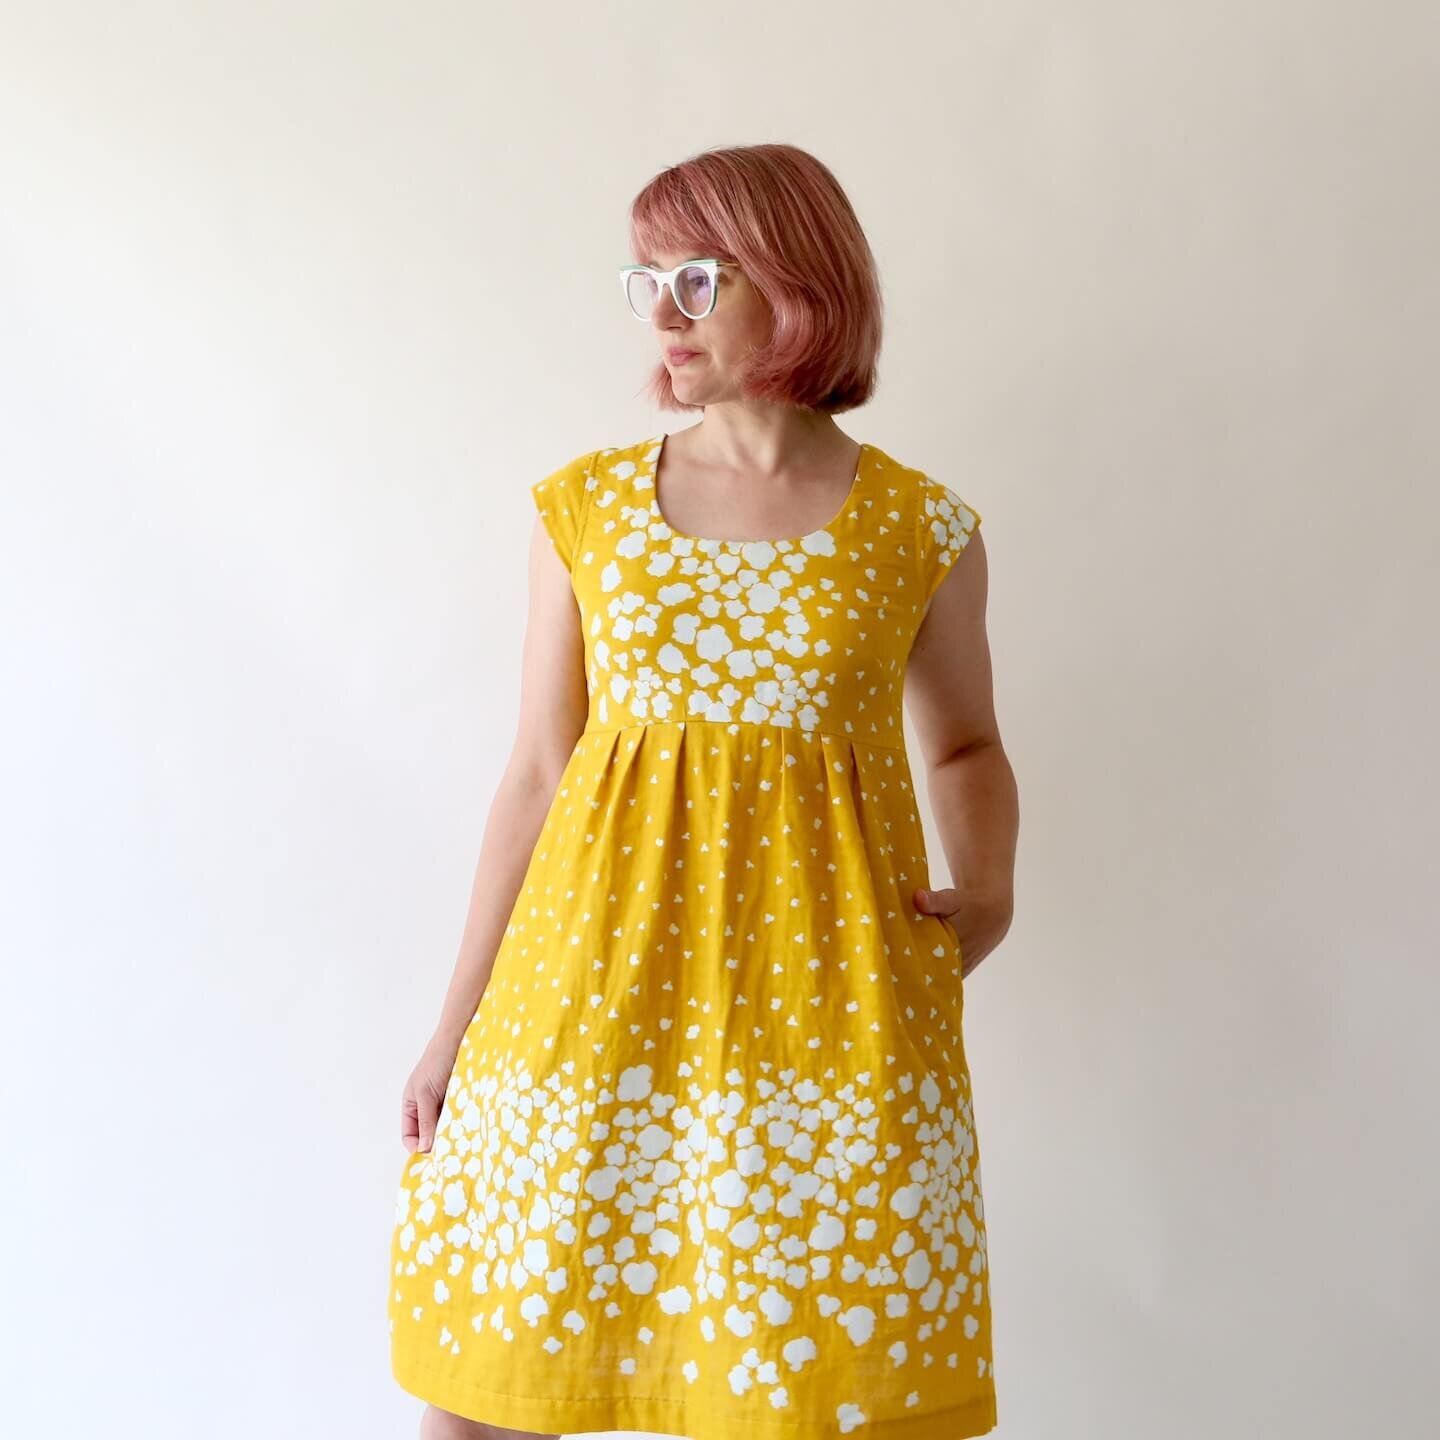
Yellow border print Trillium Dress
I sewed myself a new Trillium sundress for summer with this yellow Nani iro double gauze border print, purchased from Fiddlehead Artisan Supply earlier this year at a particularly dreary point of winter when I was yearning for something sunny and fun. After seeing Claire’s amazing Zadie dress out of the same print in the green colorway, I’m having buyer’s remorse that I didn’t get the green (too?).
Here are just a few tips for using border prints for this pattern, or any pattern for that matter:
Before you order your fabric, check the fabric width to make sure your tallest pattern piece will fit when turned sideways. This is easiest to do if you have TRACED YOUR PATTERN PIECES (tracing tutorial here).
To determine yardage, place your pattern pieces out on the fabric the way you intend to cut them, then measure how much width they take up (remember to double/flip for pieces cut on the fold) - this is your new yardage.
Consider cutting pieces that are the most fitted on-grain — for a skirt or pants this would be the waistband. For this dress, I left the front bodice on-grain, to keep some of the horizontal cross-grain stretch of the fabric. This means the bodice is a bit asymmetric relative to the print, but that’s ok - I like it a little funky. 🥰
As you can see, this dress matches my yellow sunhat perfectly (hat featured previously on this blog with my Emerald maxi dress), and while I think the photos are fun, this outfit is giving off strong Kentucky Derby vibes, and I’m not really into that look on a normal day. So unless I’m pretending I’m an extra in My Fair Lady or something, I’ll probably just be wearing it with my espadrilles and other hat.
My niece Pippi, upon seeing a photo of the dress, said “mmm, buttered popcorn.”
The Trillium pattern is in my shop! Sizing goes up to 59” bust, finished hip goes up to 71.”
PS. Every time I post photos of the back of Trillium, I get asked about the shirring in the back. This is part of the pattern (I also wrote a Shirring Tutorial for the blog if you’re interested), but you can substitute an elastic casing using this tutorial if you’re not sure you can tackle the shirring.
You can see all of my Trillium tutorials over at the Trillium Page, or see what everyone’s making with this pattern using the #MBRtrillium tag.


