How to sew piping
I love piping. It makes everything better. Truly.
Array
Array
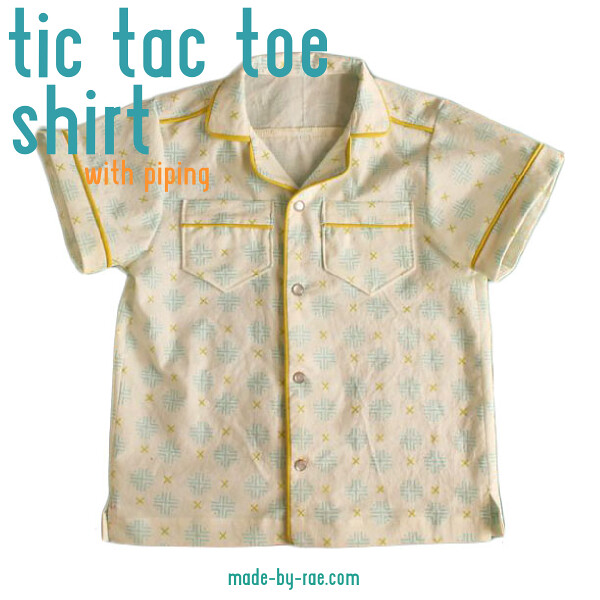
When Elliot saw this "stitched" fabric (designed by Aneela Hoey) he said, "It looks like tic-tac-toe!" so that's what we call this shirt now. The "tic-tac-toe" shirt. Sidenote: playing tic-tac-toe with a kindergartener is hilarious. I can beat the pants off of him every time, so most of the time I just let him win, though he's slowly figuring out the tricks. It's just funny to imagine a time when tic-tac-toe was still novel.
Array
In addition to the pockets and cuffs shown above, I added piping to the collar, yoke, and front edges of the shirt to give it a fun retro look.
Array
Array
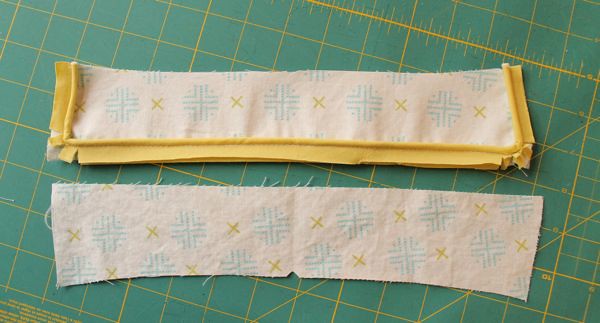
Just in case you've never made your own piping, let me briefly show you how I make mine:
Array
First, cut 1.25" strips on the bias (45 degrees diagonally) using a rotary cutter and ruler (1). Then trim the ends square, overlap them so they are perpendicular, and stitch them together as shown (2). Trim and press the ends apart (3), and repeat steps 2 and 3 until your bias tape is long enough (4). Then take piping cord -- usually a white narrow cord which you can buy by the yard or pre-packaged -- and place it in the center of the bias tape (5). Fold the bias tape around the cord, and hold it in place with your fingers. Machine-baste the piping shut using a long stitch-length and stitching right next to, but not into, the cord (6). You'll have to go slowly and readjust the bias tape by hand as you sew. Once you've sewn the entire length of bias tape, you're ready to add piping to all kinds of things! Just cut it to the length you need and baste it in place.
By the way, there are plenty of great piping tutorials out there, with many different ways to make it. This is definitely not the only (or the best) way to make piping, but it works great for me. You should definitely take some time to check out Anna's awesome no-sew piping tutorial if you haven't already (BRILLIANT!), and Dana has an entire post series on bias tape that is also worth a read if you're new to the bias-tape scene.
Array
I love the finished result. No pictures of the shirt in action yet, as I just barely finished it yesterday afternoon, but he did try it on briefly yesterday, and it fits!
Head over to MADE to see the piping shorts and awesome outfit that Dana made for her post today: Stripes, Checks, and Piping, oh my! You will love it!
This post is part of Celebrate the BOY, a series of boy sewing posts hosted by me and Dana of MADE. Check out my Celebrate the BOY archives for more boy sewing posts. Here's what we've done so far:
DAY 1: Rae: Saffron Pants and Color Roundup / Dana: 5 Steps to the Basic Tee
DAY 2: Rae: Little Bit of Color Hoodie / Dana: Pants Roundup
DAY 3: Rae: Hoodie Tutorial / Dana: Kids Shorts/Pants with Back Pocket Tutorial
DAY 4: Rae: Show your Stripes Turtleneck / Dana: 13 DIY Fabrics
DAY 5: Rae: Stripes Roundup and Celebration Garland / Dana: Favorite Tee Shirt Buddy Toys
DAY 6: Rae: Fox Tee / Dana: Big Stick Jammies
DAY 7: Rae: Bold Prints Roundup / Dana: Beach Robe to House Robe Remix
DAY 8: Rae: City Pants / Dana: we be jammin PJ roundup
DAY 9: Rae: Mustache Roundup / Dana: Stripes, Checks, and Piping, oh my


