The Apple Doesn't Fall Far From The Tree Shorts
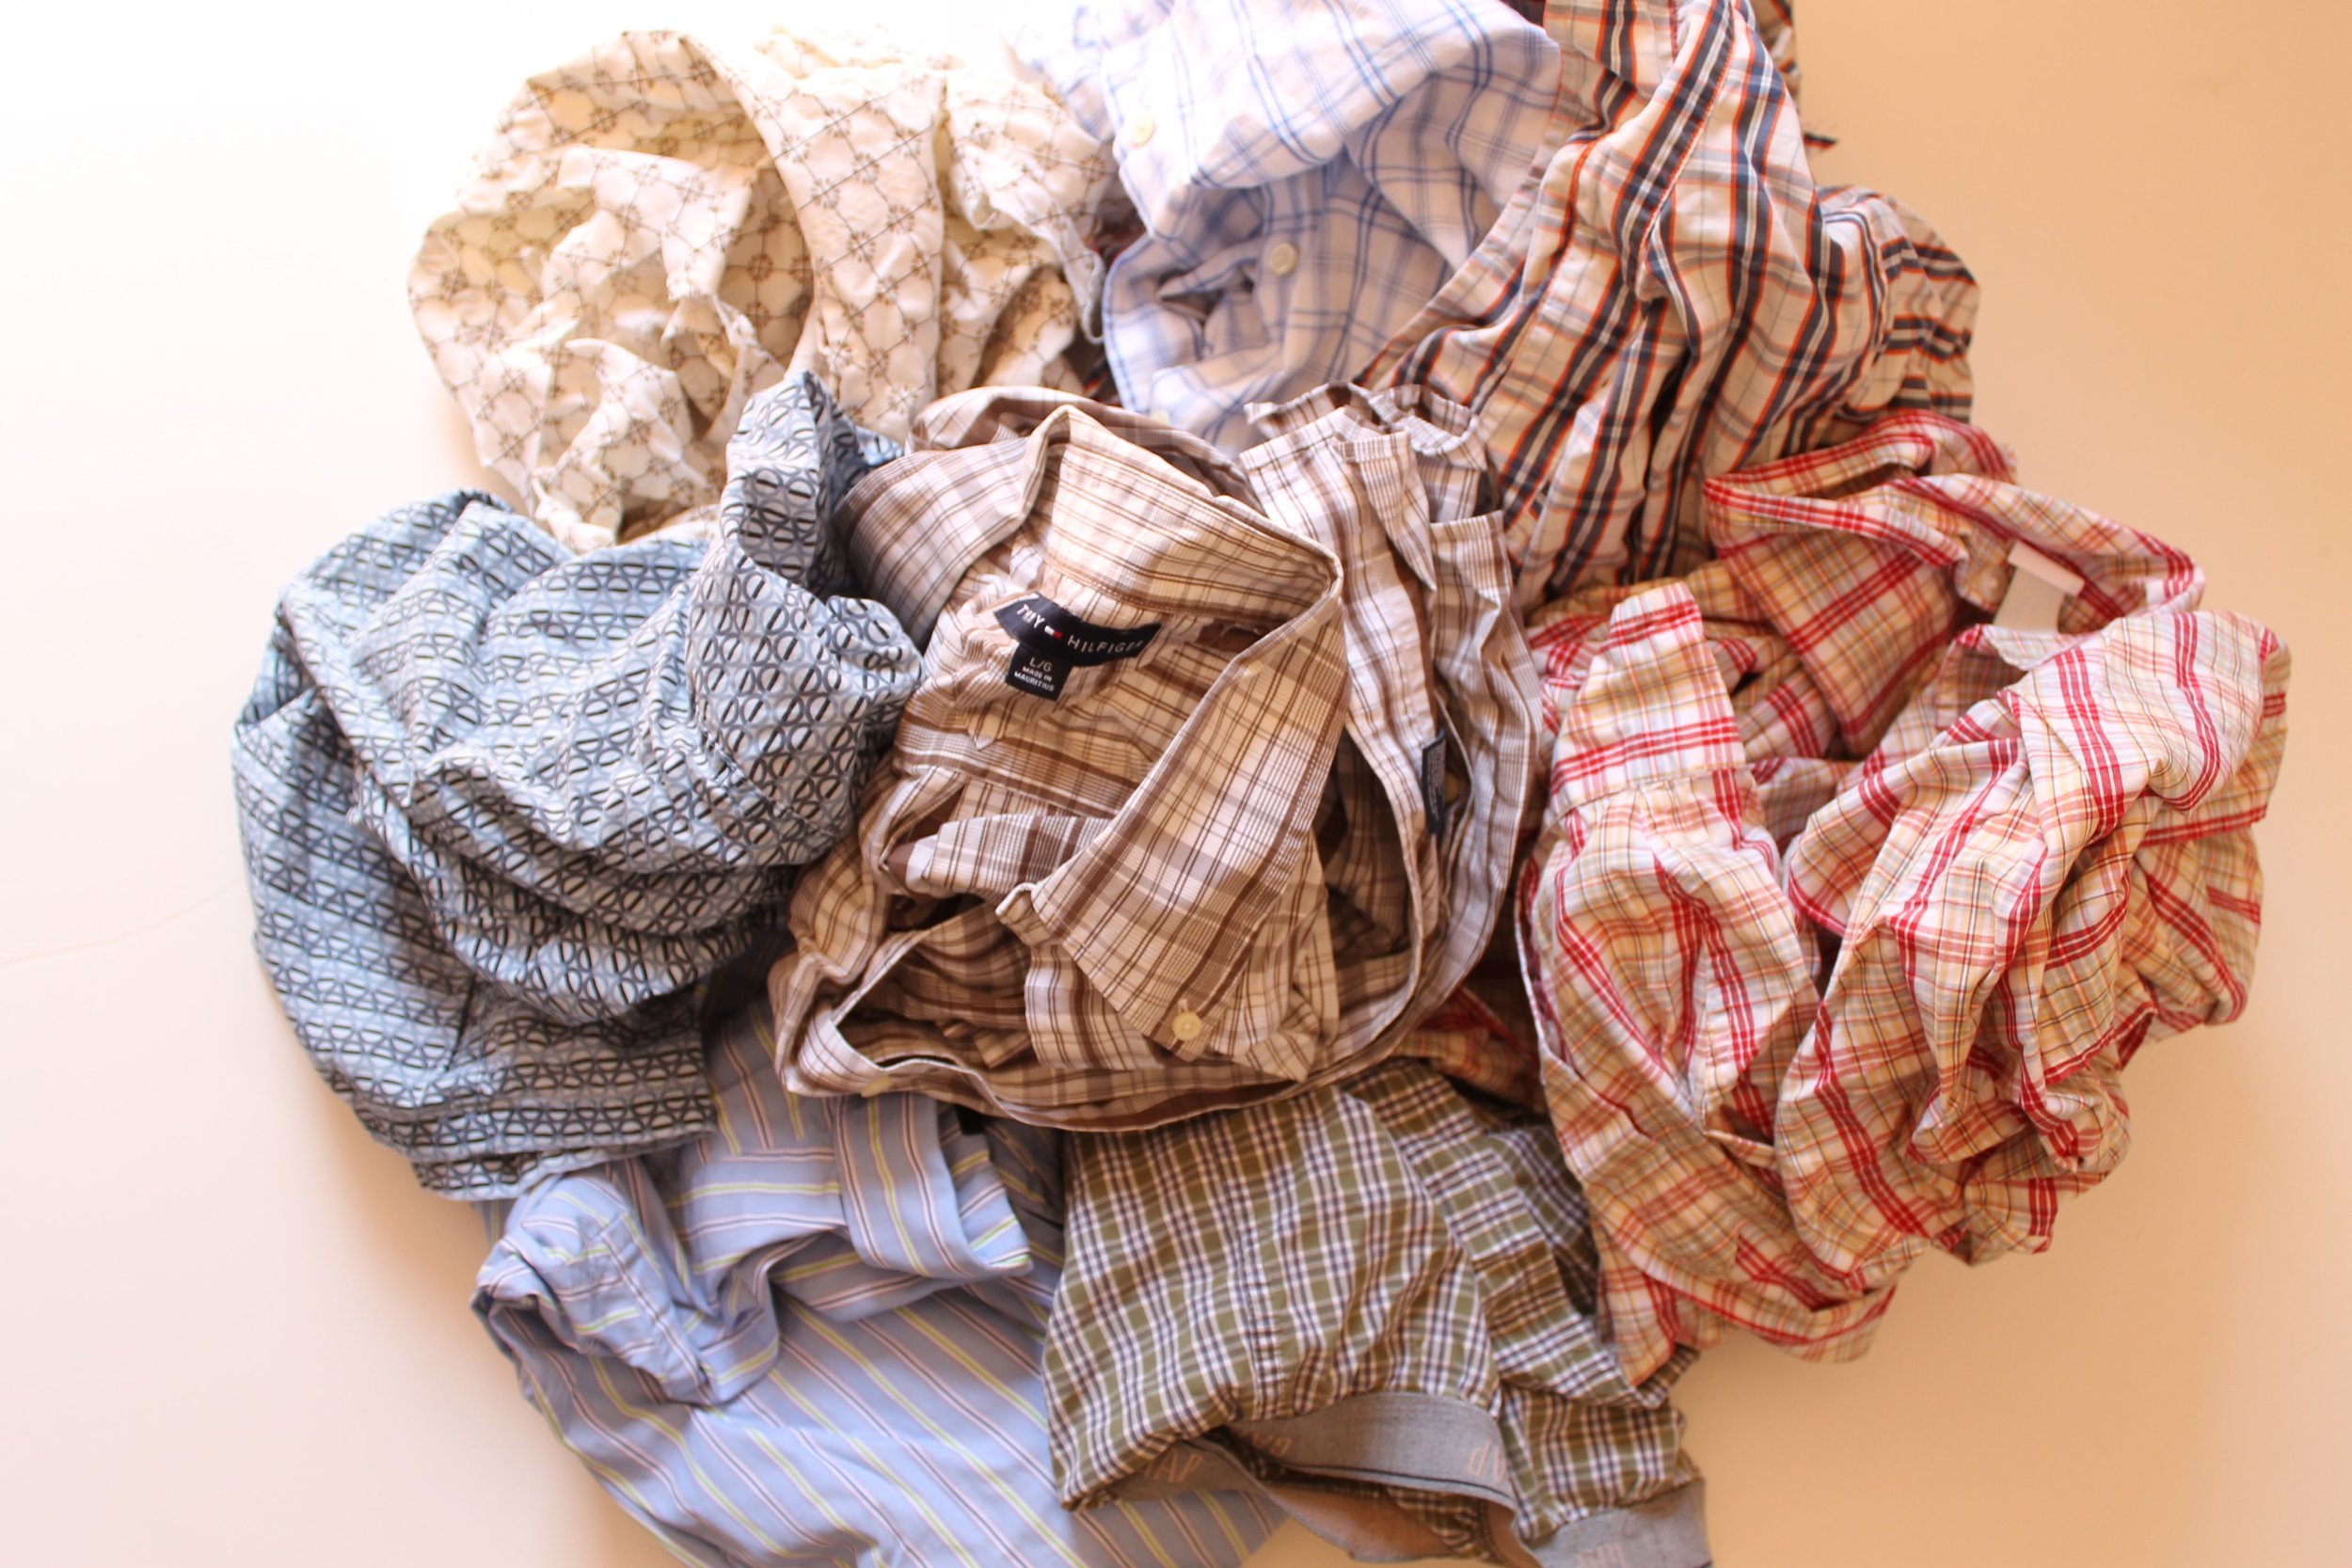
This snazzy pair of shorts is a great way to reuse old grown-up shirts or boxer shorts! We always have a pile at our house that my husband has tossed aside for various reasons, and I save them when I like the print and the fabric is still in good shape. You could also pick up a pile of shirts at the thrift store or use new fabric if you like (just remember to pre-wash and dry your fabric if you do this). This tutorial shows you how to reuse the finished edges of the older garment as hems for the shorts, making them a nice quick project. Your boy will enjoy knowing that his new pair of shorts came “from daddy’s shirts!”
OK, so it's a long name, but it's fitting: You take a bunch of shirts or boxers from dad's closet and chop them up, then put them back together to make a great pair kid shorts. Elliot has been wearing the heck out of these shorts (he's even wearing these, today, in Florida, where we are currently on our annual family vacay)! He loves these shorts, mostly because everything in them used to be his daddy's. Plus they're supercomfy. Double yay.
DIY: upcycle men's shirts into shorts!
This tutorial was previously published as part of the Fall 2012 Issue of Petit Purls, a great online kids' knitting mag (this was their Sewing Issue). UPDATE: Petit Purls is no longer.
This post shows you how to make a basic 1-piece shorts pattern from an existing garment, and then shows you how to construct the shorts. You could use the same techniques to make a really great pair of pants too!
The tutorial consists of three parts (SCROLL DOOOWN FOR THE FULL TUTORIAL!).
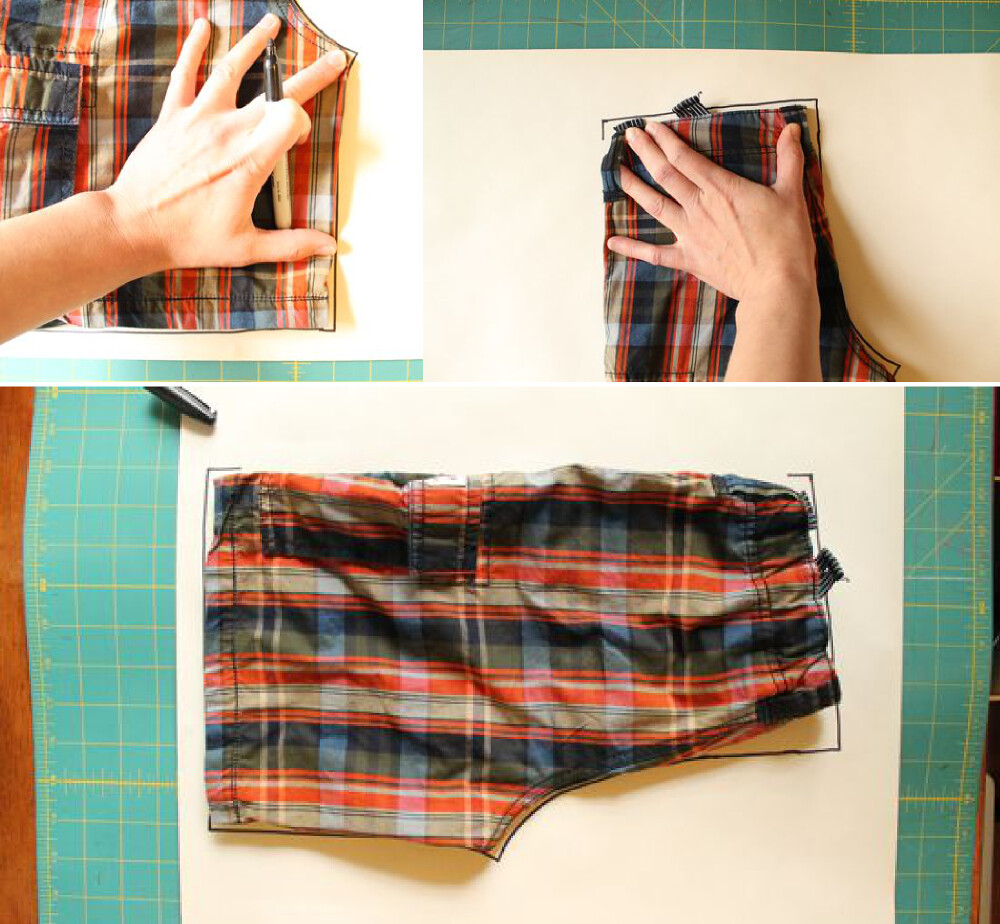
First you trace a pattern:
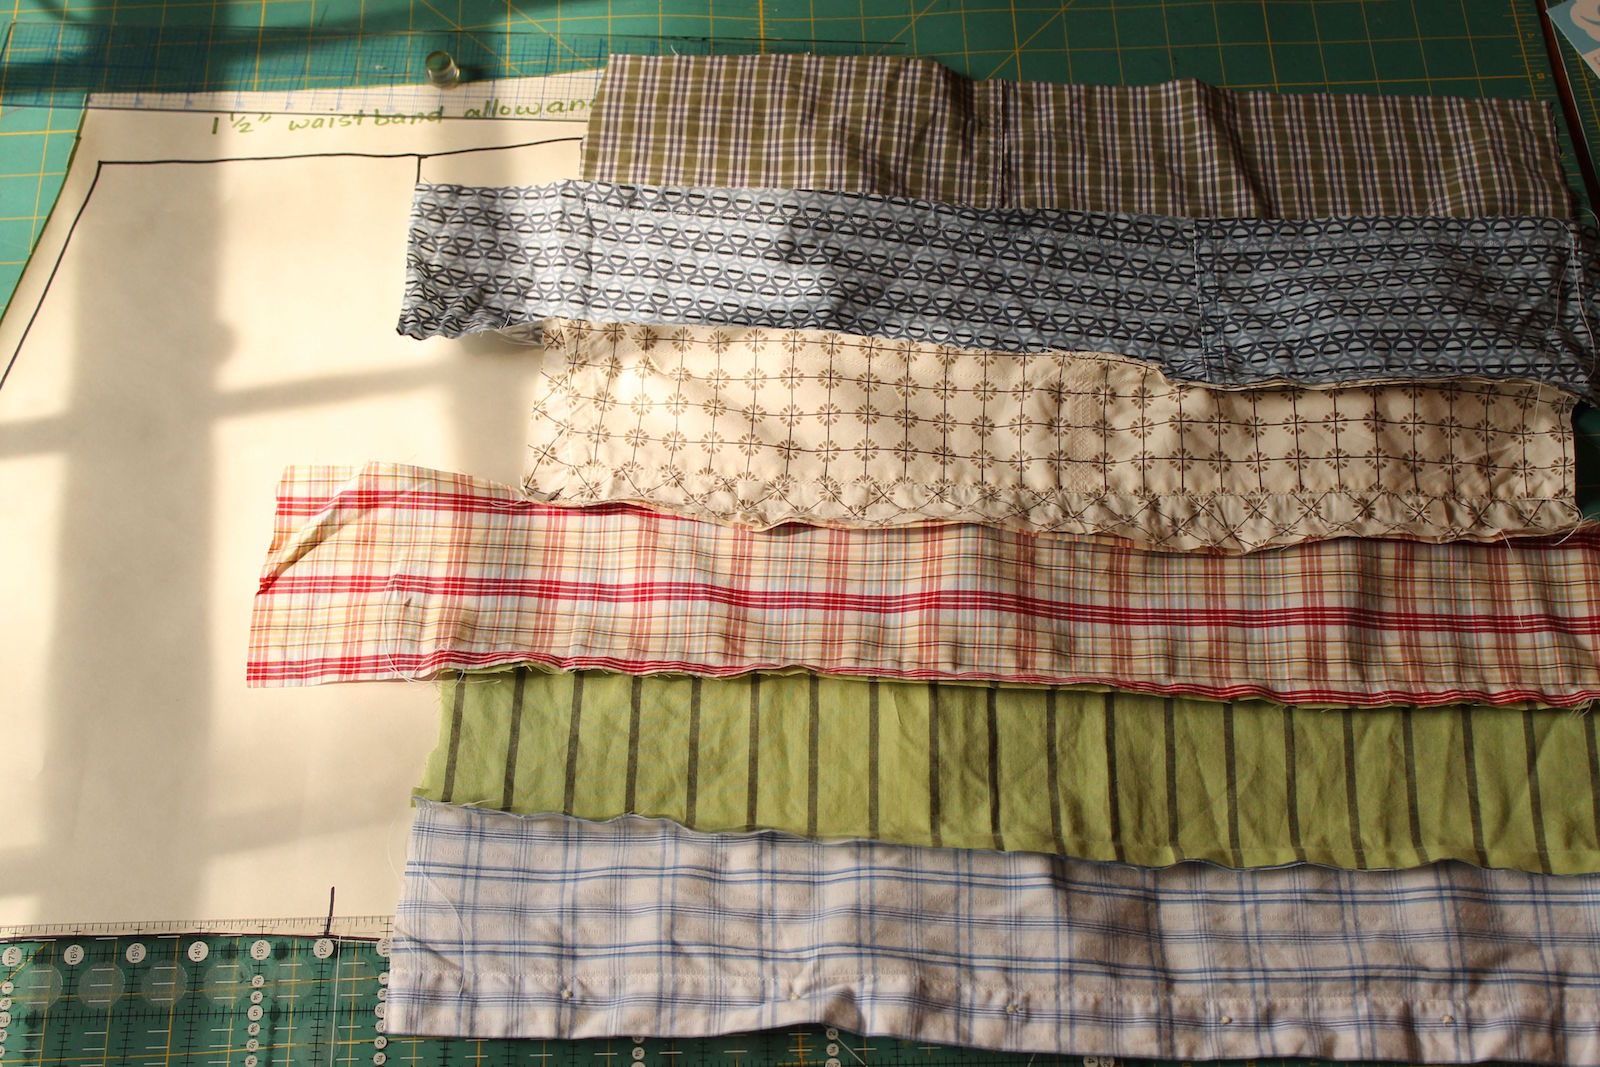
And then you make the "fabric" from old shirts or boxers:
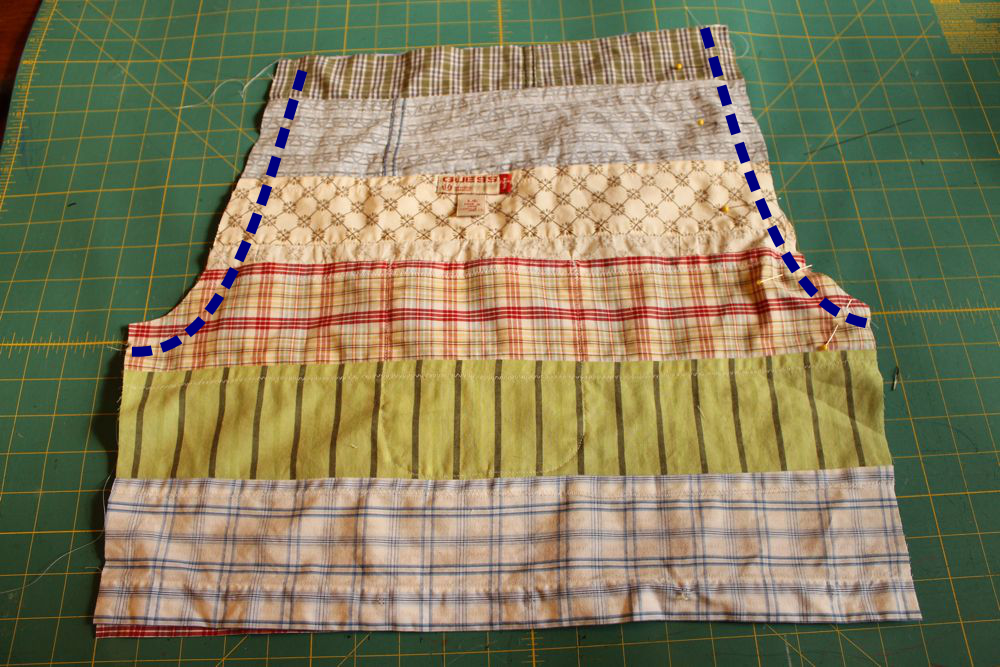
Then you turn them into cute shorts! (or pants!)
Did you catch the incorporation of shirt-pockets to shorts-pockets? Clever, eh?? Can I get an Upcycling high-five?
And of course, you could use the basic instructions with any fabric, even if it's not pieced. I think you'll find this tutorial to be really useful!!
TUTORIAL: HOW TO MAKE UPCYCLED SHORTS
SIZE
Any size, made to size.
MATERIALS
1' elastic
men’s shirts or boxers (I used four old shirts and two pairs of boxers)
DIY: upcycle men's shirts into shorts!
Tools and notions
clear quilter’s ruler, rotary cutter, and mat
sewing machine with universal needle
matching thread
safety pin
Make your pattern
To make these shorts you'll need a 1-piece shorts pattern. You can trace and make your own pattern using an existing pair of shorts and this tutorial:
HOW TO TRACE AND MAKE A SHORTS PATTERN
Note that if you trace your pattern, you'll also need white butcher paper or large-sheet packing paper and a markerIf you don't want to make your own pattern, my Parsley Pants sewing pattern for kids (see: how to turn Parsley into shorts) works nicely.
Make your “fabric”
Now it’s time to chop up those old shirts and boxers and piece them together to make the fabric for the shorts.
DIY: upcycle men's shirts into shorts!
Step 1: Cut your old garments into 4” strips
Cut your garments along side seams, press them flat, and use a rotary cutter, mat and ruler to cut them into 4” strips that are as long as the pattern is wide. For the top and bottom of the shorts, they can be a little shorter because the pattern piece is narrower at the waist and leg.
DIY: upcycle men's shirts into shorts!
Hints:
- For my shorts (about size 5 / 6), I needed six strips for each side of the shorts, 12 strips total.
- Use existing hems whenever possible
- Cut a couple strips from the button plackets of a shirt and use a seam ripper to take off the buttons (below left). These finished edges can become the bottom hem of your shorts.
- Save a couple of shirt pockets by cutting ½” around the outside of each pocket (below right). You can use these as pockets for your shorts if you like.
DIY: upcycle men's shirts into shorts!
As you cut the strips, line them up over your pattern piece to see how many strips you’ll need total. Keep in mind that the strips will lose ½” on each side for seams.
Step 2: Sew the 4” strips together
Here is a quick overview of how all of the seams on the shorts were sewn, both when piecing the strips to make the fabric AND when sewing the shorts together:
- Sew the long edges of the two strips together with a ½” seam (a).
- Press the seam to one side (b).
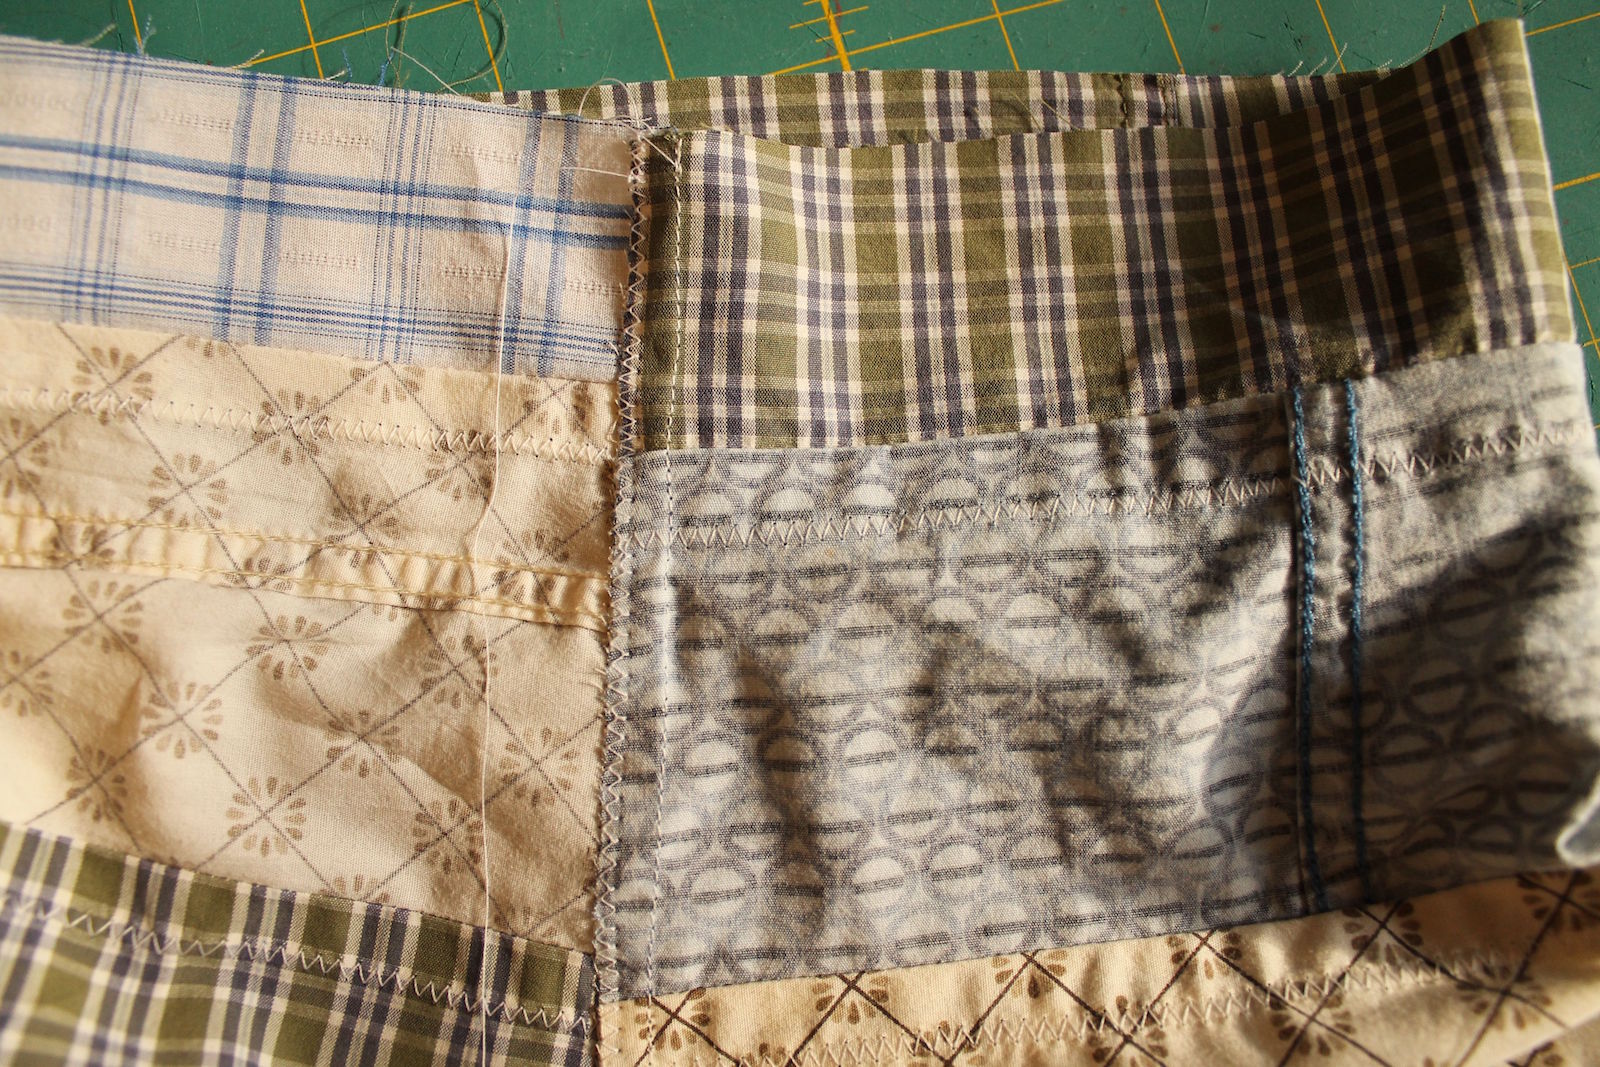
- Zig-zag stitch over the raw seam edges to tack them down and so that they won’t fray (c). This will make all of your seams extra strong. You will be able to see the zig-zag stitch through the fabric, which adds a nice effect (d).
DIY: upcycle men's shirts into shorts!
Now sew enough strips together to cover the entire pattern piece (I sewed my strips WRONG sides together for this part):
DIY: upcycle men's shirts into shorts!
Then press the seam allowances down and zig-zag stitch over the raw edges:
DIY: upcycle men's shirts into shorts!
DIY: upcycle men's shirts into shorts!
Repeat so you have two pieces of fabric, one for each side of the shorts.
Construct your shorts
Step 1: Cut out your fabric
Place your pattern piece over the shorts and cut out the fabric. The rulers in the photo below were used to hold the pattern piece flat.
DIY: upcycle men's shirts into shorts!
Flip the pattern piece over and repeat for the other side of the shorts. VERY IMPORTANT: Your two shorts panels must be mirror images so check carefully before cutting into your fabric!
DIY: upcycle men's shirts into shorts!
Step 2: Attach the pockets (optional)
Press the edges of the pocket pieces under towards the wrong side.
DIY: upcycle men's shirts into shorts!
Pin each pocket to the center of each of the shorts panels, and sew carefully around the edges to attach. BE CAREFUL not to sew the pocket shut when you sew across the top edge!
DIY: upcycle men's shirts into shorts!
Step 3: Sew the center seams together
Place your two shorts panels with right sides facing, and sew the center seams together with a ½” seam allowance.
DIY: upcycle men's shirts into shorts!
Recommended: Trim seam allowances to ¼”, press to one side, and zig-zag the raw edges down to make this seam extra-strong.
DIY: upcycle men's shirts into shorts!
Step 4: Sew the inseams
Open up your shorts and line up the inseam edges with right sides together. Sew with a ½” seam.
DIY: upcycle men's shirts into shorts!
DIY: upcycle men's shirts into shorts!
Recommended: Trim the seam allowance to ¼”, press to one side, and zig-zag the raw edges down to make this seam extra strong.
DIY: upcycle men's shirts into shorts!
Step 5: Make waistband casing
Fold ¼” along top edge of shorts toward wrong side and press. Fold over an additional 1 ¼” and press down. This will become the waistband casing.
DIY: upcycle men's shirts into shorts!
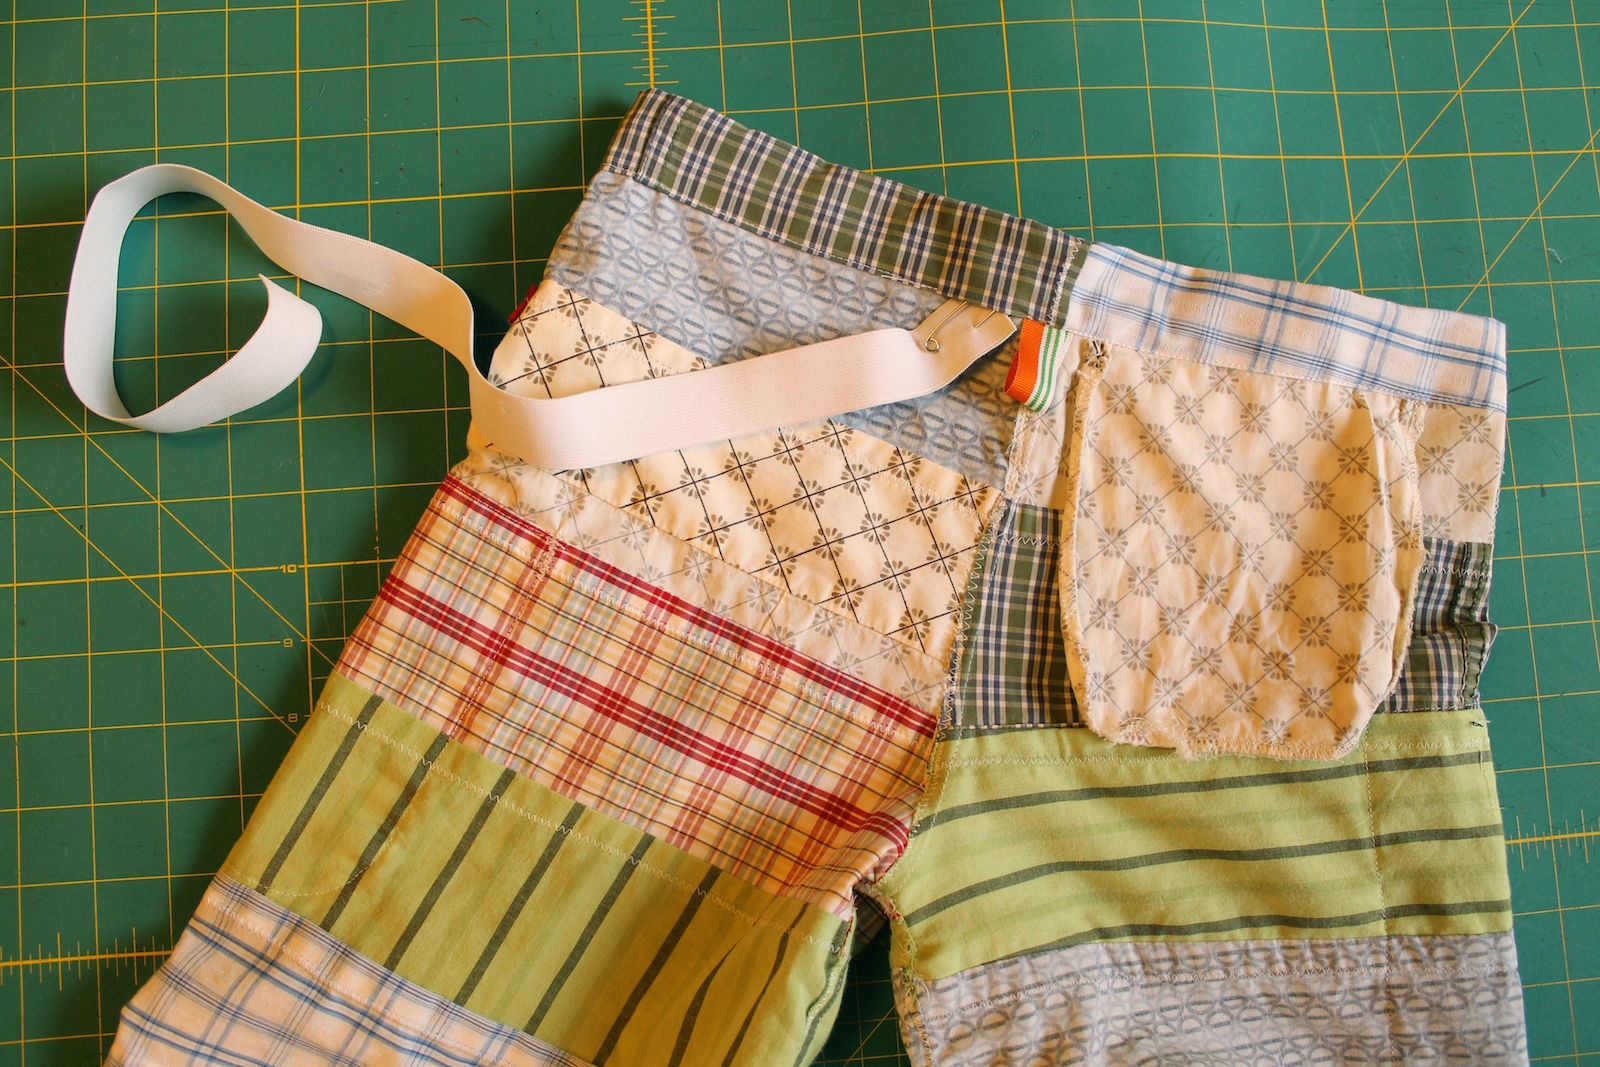
Starting at the back center seam, sew along the lower folded edge of the waistband casing, being careful to leave a 2” hole at the back to insert the elastic. I sewed a little piece of ribbon under the casing at the back to help my son tell front from back.
Take a piece of 1” wide elastic and cut it 1” shorter than your child’s waist measurement. Thread it through the casing using a safety pin. Overlap the ends by at least one inch, and zig-zag stitch back and forth a few times across the ends to secure them.
DIY: upcycle men's shirts into shorts!
Hint: Cut the elastic a couple inches longer than needed (as shown below) and overlap the ends by 2” instead of 1” so that you can let out the waist as your child grows.
DIY: upcycle men's shirts into shorts!
Now sew the waistband casing opening shut along the folded edge, and you’re finished!
DIY: upcycle men's shirts into shorts!


