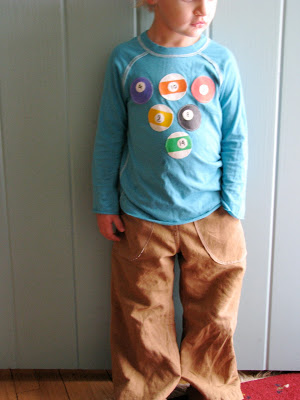
Brown Dillingers: Upcycling and seam finishes
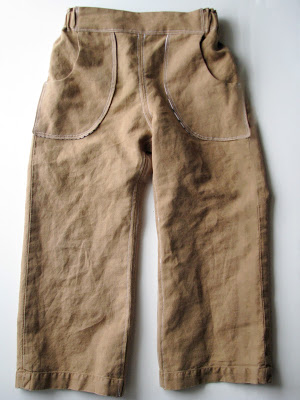
Hi guys! I want to write about these pants but I'm also super double dog tired and want to go to bed (it's Monday night; we heavily avail ourselves of the ol' autoposter around here during CTB). So there's no tutorial or anything but I will say a few things about how I made these nice little brown pants for E which have since become his most-worn item of clothing (yes really!).
Before I made the Dapper Dillingers I posted about last week, I wanted to make a test run before I cut into that nice fancy fabric. I didn't know exactly what size E would need in the pants so I couldn't be sure that all that effort (and fabric) wouldn't be wasted. I had a old pair of Mr Rae's pants that he had thrown out for some reason or another and the fabric was soft and unworn most everywhere. Perfect.
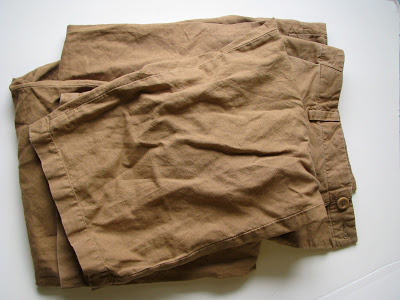 |
| from whence they came |
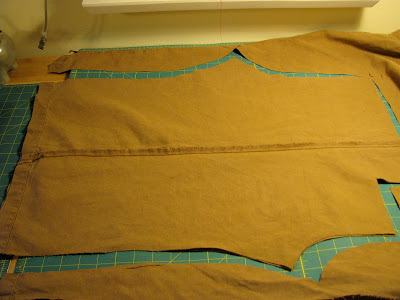
It's important to me when sewing from an older garment to do as little work as possible. So instead of harvesting fabric from the center of the legs or butt or whatever, I try my darndest to get the new item of clothing to share as many elements with the old item as possible. In this case, I used the cuffs of Mr Rae's pants for the cuffs of these (no hemming!), and also the outer side seam of the legs. That last thing was a little tricky to do since Dapper Dillingers are actually a four-piece pant (two front pieces, two back pieces), so to do this I took the seam allowances off of the front and back pattern pieces when I traced them and taped them together to make a single pant piece for each side. In other words, I placed the side seam of Mr Rae's pants where the side seam would have been had I sewn it. Here's a shot that shows what the pant legs looked like after they were cut out:
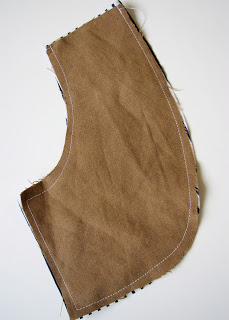
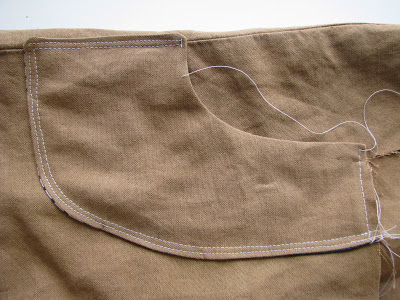
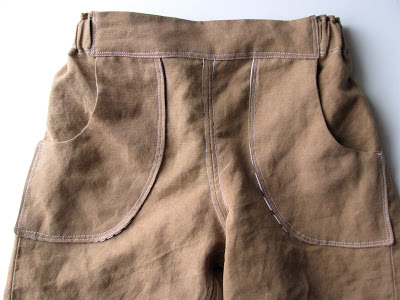
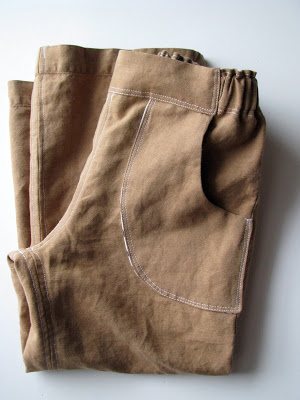
One of the things that makes these pants so fun to look at (in my opinion) is that they have extra stitching on the seam finishes and the pockets. These can add interest to any garment that is one color or otherwise boring. I used the pocket facing pattern piece (which is normally in the inside of the pants, unseen) and cut two pockets from it and two linings. After sewing them together right sides sides facing...
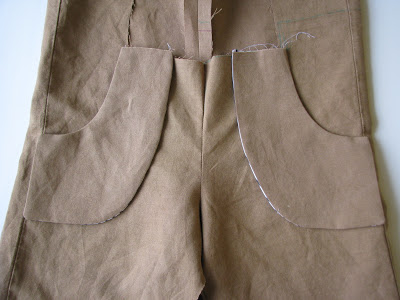
I turned them right-side out and pinned them to the pants where the divot in the front is (where the front waistband attaches).
And then topstitched them to the pants with a double row of stitching. It's not perfect but it really takes them up a notch in the Looks Dept.
Since the pockets were turned through their tops, that had to be covered up, and the waistband did the trick quite nicely.
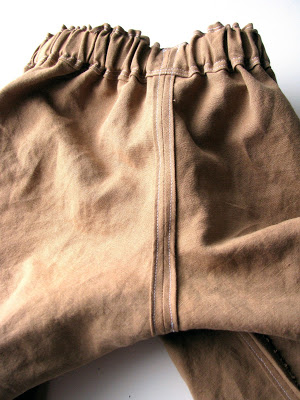
Another thing that makes these pants look great is the seam finishing (called for in the pattern, I think. Too lazy to get up and look):
This fabric was oddly fray-prone, so it was a good thing that all the inside seams got finished so nicely. Otherwise there would have been mending by now (hate!) Better to spend a little extra time up front to insure that I won't ever have to have these on my machine again.
How's that for an upcycled pair of pants? Would you guess they'd been recycled? Not me.


