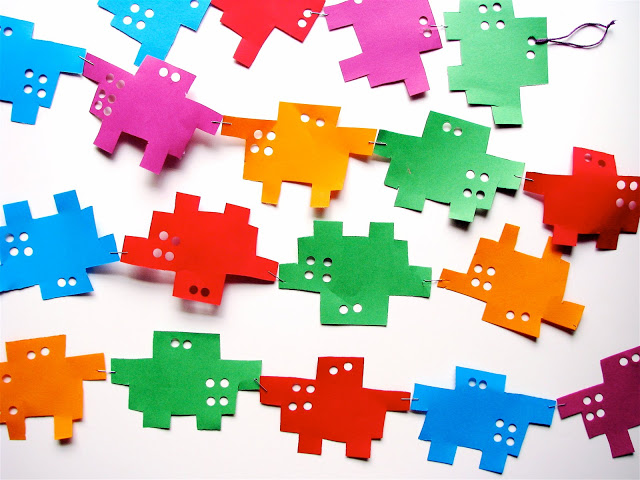
The Easiest Robot Garland. Evar.
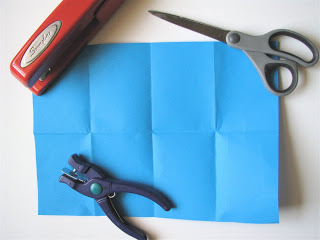
Some of you remember the Easiest Heart Garland. Evar. and this isn't going to turn into a series or anything, but garlands are easy to make and fun so I had to share my very very easy peasy paper party garland. It isn't made of felt like the heart one (but wouldn't THAT be cute??) and therefore is less durable, but I find with birthday garlands that in fact each year you want to do something new, making the time invested in a felt birthday garland slightly less rewarding. But don't let me stop you.Here's how to make:1. Gather supplies: colored printer paper (mine came from IKEA if you're looking for these colors), stapler, hole punch, scissors. Each color you use gives 8 robots and about a yard of garland, so mix colors to make longer garlands or just use one color.
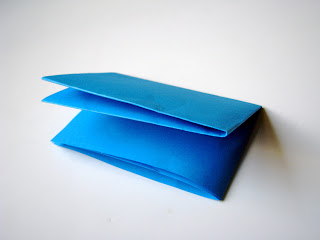
2. Fold the paper in half three times to make eight sections (unfolded shown above, folded shown below). The order of the folds is not important as long as you end up with eight equal sections.
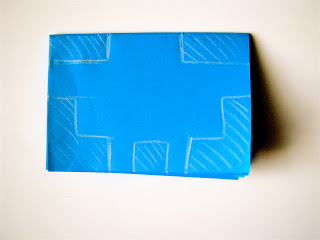
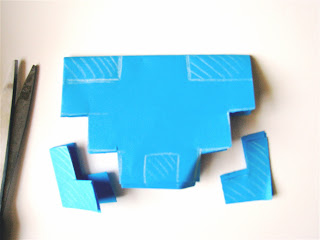
3. Sketch cutouts if needed. The top corners will need rectangles, the bottom corners need "L"s and the bottom center needs a square. Personally I think the less exact you are, the cuter they end up. Witness how wonkified they are in that first picture if you don't believe me.
4. Cut L's on bottom corners through all layers with scissors
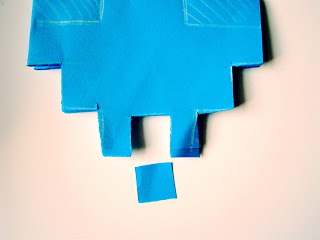
5. Cut squares out of bottom center through all layers to make the legs
6. Cut rectangles from top corners through all layers to make the head
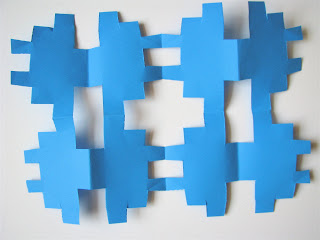
7. Open up your paper. The robots will be connected by their arms, legs, or heads but not necessarily exactly like mine if you positioned your folds differently. This doesn't matter since you're going to cut them all apart anyway. Now cut them all apart.
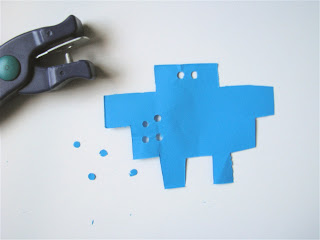
8. Punch holes for eyes and control buttons
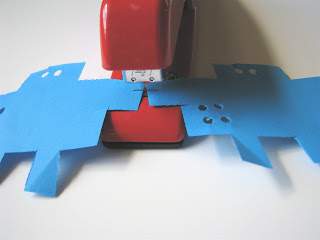
9. Staple two robots at a time together horizontally by catching each arm with the staple or stapling them together vertically head to foot.
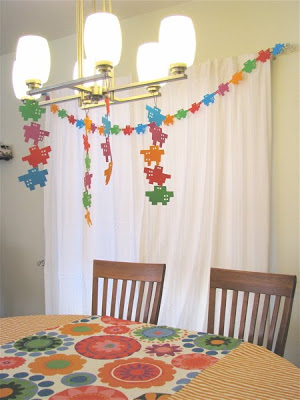
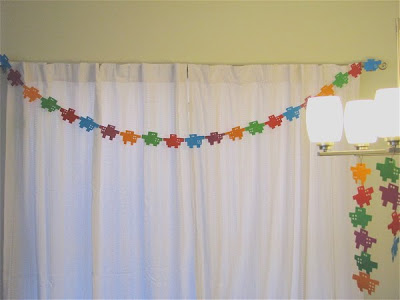
10. Optional: I tied loops of thread to the ends to make them easier to hang, but you could also tape them up or just rest them on curtain rods or fixtures.
Easy, peasy!


