Baby Sunsuit Tutorial
 |
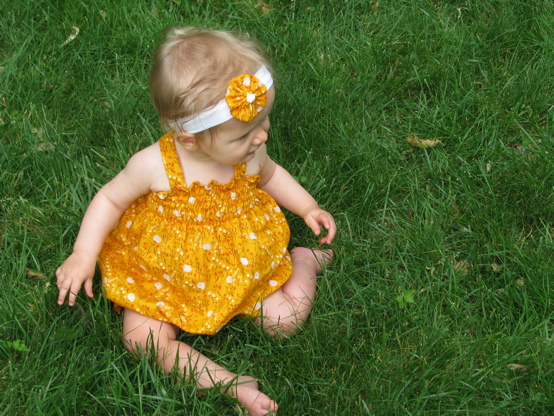
| C hates grass, not her sunsuit |
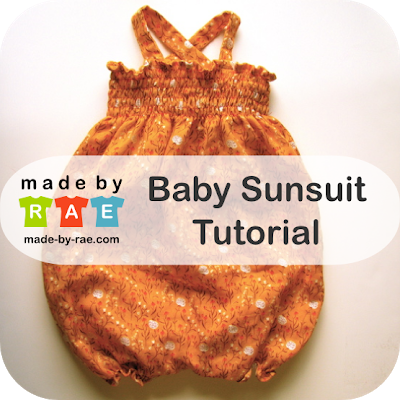
It finally cooled off here in Michigan. Last week it was so hot and humid I thought it was mid-August. I got the impression C would rather go naked than wear anything, so I made this little sunsuit for her.
The fabric is Far Far Away double gauze by Heather Ross. This fabric couldn't be more perfect for baby clothing. It's lightweight without being too flimsy, incredibly soft and breathable. And the sunsuit itself is so easy to make I thought I'd make a tutorial!
The tutorial works from your baby's measurements for a custom fit and has a snap closure at the bottom for easy diaper changes. I've also included the measurements for a 6-12 month size if you'd rather not measure your baby or are making one for a gift. The shirring (gathering) at the top and legs is done by putting elastic thread in your bobbin and is a popular technique that I've seen all over the place for the last year. I've included a few links at the end of the tutorial where you can learn how to shir (is that a word?) if you haven't tried it before. Shirring did NOT come easily to me (4th paragraph) so make sure you take some time to learn how to do this before you commit to this project.You'll need at least a 1/2 yard of fabric, two buttons or snaps for the straps, and three snaps for the bottom closure. That's all, let's get started!
Note: I've included small pictures to take up less room, but you can click on any image to enlarge if you need a closer look.Step 1: Measure your baby (these don't need to be exact, over the clothes or diaper is fine)Measurement A: around the chest right under the armpitsMeasurement B: start from the base of the neck right where it meets the shoulder and measure to the crotch, right where a onesie would snap. This will help you take into account the length of your baby.Step 2: Cut out fabric
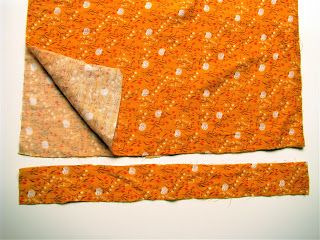
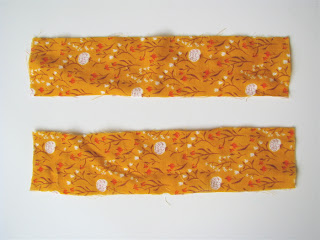
You'll need two rectangles out of your fabric. The width should be [Measurement A - 1"] and length should be [Measurement B + 4"]. For a 6-12 month size I cut 16"x19". Take a moment to find and mark the center of the top edge of each panel. This will make attaching your straps easier later.
You'll also need a 2" strip for the straps as long as Measurement B. Cut this in half to make two strap pieces. So for the 6-12 month sunsuit I cut a 2"x19" strip.
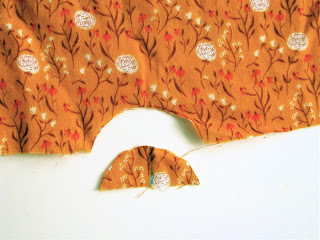
Step 3: Cut out circles on bottomDraw a semi-circle in the center of the bottom edge of each of your rectangles. Make it 1" high and 2" across. It does not need to be exactly circular, but do your best.
Cut out your circles from both the front and back rectangles. This is where the snap closure will go.
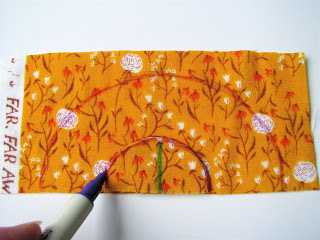
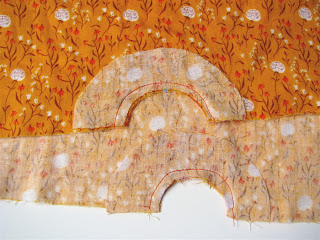
Step 4: Make arch pieces for snap closureWhenever you have snap closures you need to reinforce the fabric so the snaps won't tear through. Using the semi-circles as a template, trace another semicircle along the edge of a new scrap of fabric (4"x8" is big enough). Then draw another semi-circle 2" outside of the first one.
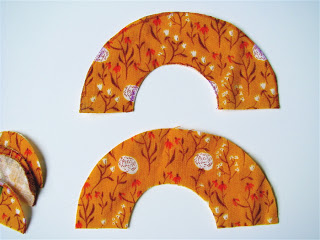
Cut two of these arches out:
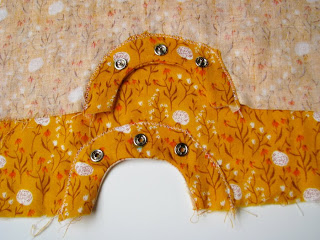
Step 7: Sew snap panels to main panels using 1/4" seamFor the front, you'll place the arch so that it's right side faces the right side of the front panel. For the back, place the right side of arch to wrong side of back panel.
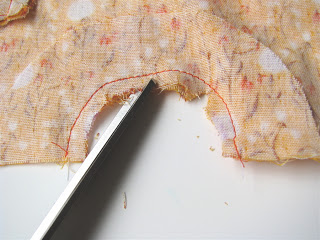
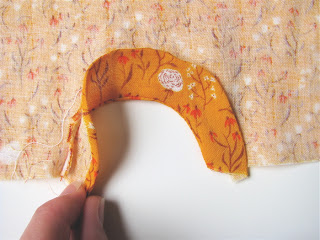
Step 8: Clip and flip.
Clip seam, then turn and press the arch to the other side of the panel so that the right side faces out. Then press under the raw edge along the top of the arch.
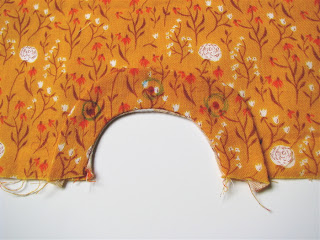
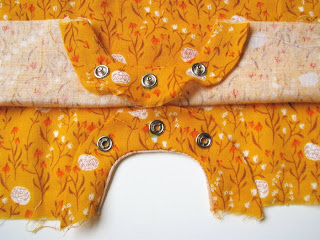
Step 9: Add snaps Mark location of snaps with marking pen, one exactly in the center and the others 1.25" away on either side. Measure this carefully so that your snaps will all line up nicely. UPDATED: Try and get your three snaps placed in a straight line if possible. Since my double gauze stretches a little it didn't really matter for me but for those who are using quilter's cotton the snap closure will be a little wonky unless you can get the snaps to line up.
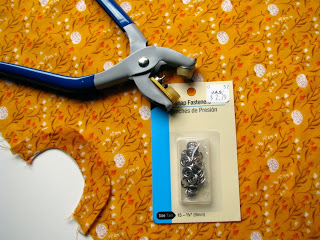
I use a snap pliers because I find it to be an easy way to apply snaps, but you could also use sew-on snaps. Another way to do the bottom closure would be with buttons and buttonholes, but that seemed a little fussy for me. I purchased my snap press at my local sewing chain store, but here's an etsy shop where you can get the kits online for about what I paid for mine. You can also get fancy snap presses for even more, but this works just fine for me. I used size 15 snaps.
Each half of a snap has a ring with teeth that goes through the fabric to hold it in place:
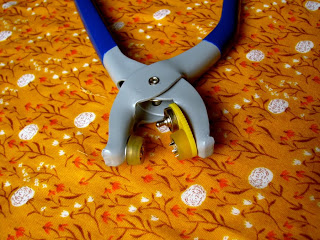
Put one ring and half of the snap into the pliers:
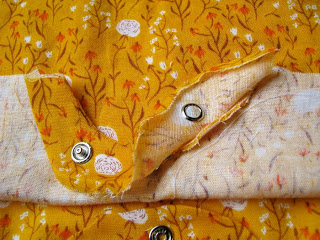
then position pliers over markings (make sure the ring is on the wrong side of the fabric) and press the two sides firmly together. The finished product looks like this:
Step 10: Sew down the snap panels Using a zigzag stitch, tack down the edges of the snap panels.
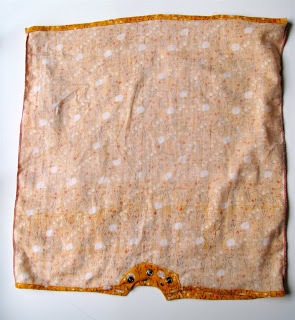
Step 11: Sew back and front together and finish edgesUsing a 1/4" seam, sew the side seams. Pink or serge so seams won't fray. To finish the top and bottom edges, I turned under 1/4" twice and sewed down, but you could also do a rolled hem with a serger or by hand.
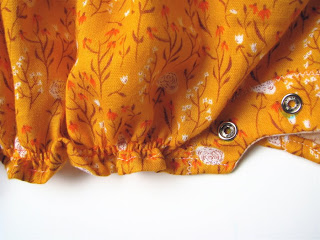
Step 12: Shirring the legs of the sunsuit.Using elastic thread in your bobbin, sew two rows along leg openings starting at one snap panel and going toward the other. I sewed the first row 1/8" from bottom and second row 1/4" from bottom. I backstitch a couple times at the beginning and then just turn the fabric around when I get to the other side and go back, then backstitch a little again at the end. (please consult a shirring tutorial if you have never done this before!!! see below for links)
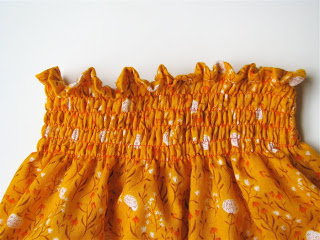
Step 13: Shirring around the top of the sunsuitSew 6 rows 1/2" apart to create a band of shirring 3" wide at the top of the sunsuit. For newborns you may want a narrower band of shirring, say 2", and for older babies you may want to go wider (3.5"-4").
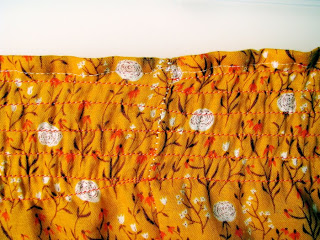
Start at a side seam about 1/2" from the top edge. Sew parallel to the top edge, cross the other side seam and keep going across the back. When you get to where you started, steer the presser foot to sew another row 1/2" below the one you just did and just continue until you have enough shirring. You won't have to lift your needle or stop sewing so this part should go very quickly. You are essentially sewing a spiral around the sunsuit until the height of the gathered portion looks good to you. A closeup is shown below so you can see the seam where I started and ended (the red stitching is the elasticized stitching). It looks a little wonky but it doesn't have to be perfect since it will gather up anyway.
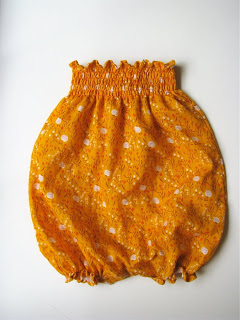
Here's what your sunsuit should look like now, more or less:
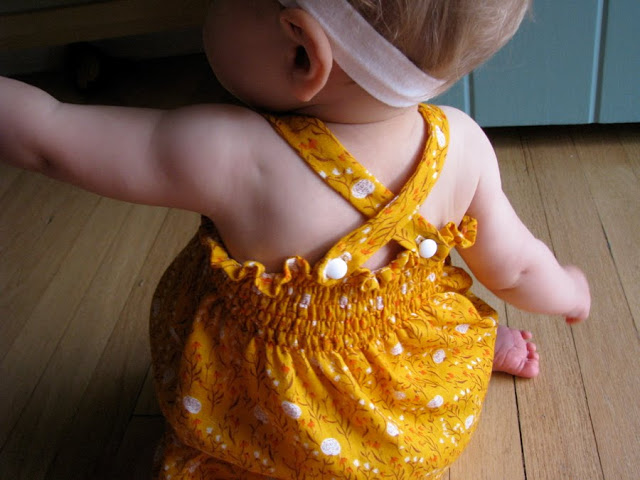
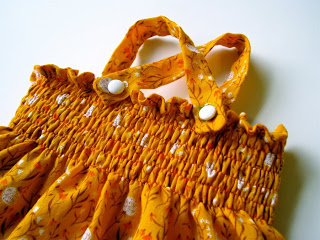
Step 14: Make StrapsGo to my Easy Strap Tutorial to see how I made my 3/4" wide straps. I put buttonholes in the ends but you could also use snaps here. Another option would be to do a pair of ties at each shoulder.Step 15: Attach StrapsI measured and marked 3.5" inches from the center mark (with the fabric stretched out) on both the front and back of the sunsuit. Sew the buttons to the back first. Button the straps in back, and safety pin the straps to the front and try it on your baby to check before sewing them down. I think I had about 1/2" of excess on the end of each strap which I just tucked inside and sewed under when attaching the straps.
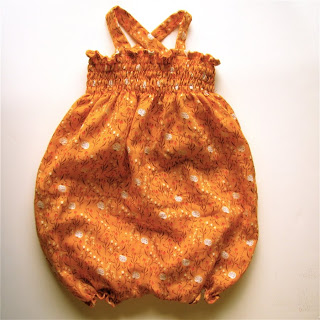
You're finished! Put sunsuit on that baby, photograph, ooh and ah!!!
Shirring ResourcesHere are the places I found good shirring information. I'm sure there are many more but this will give you a place to start:Pretty Ditty's Shirring TutorialPortobello Pixie's Shir Madness Tutorial (link is on right side of blog)MADE's Summer Vacation Dress and Shortie Pattern (lots of great variations there!)Craftstylish Shirring Tutorial by Cal PatchWeekend Sewing by Heather Ross


