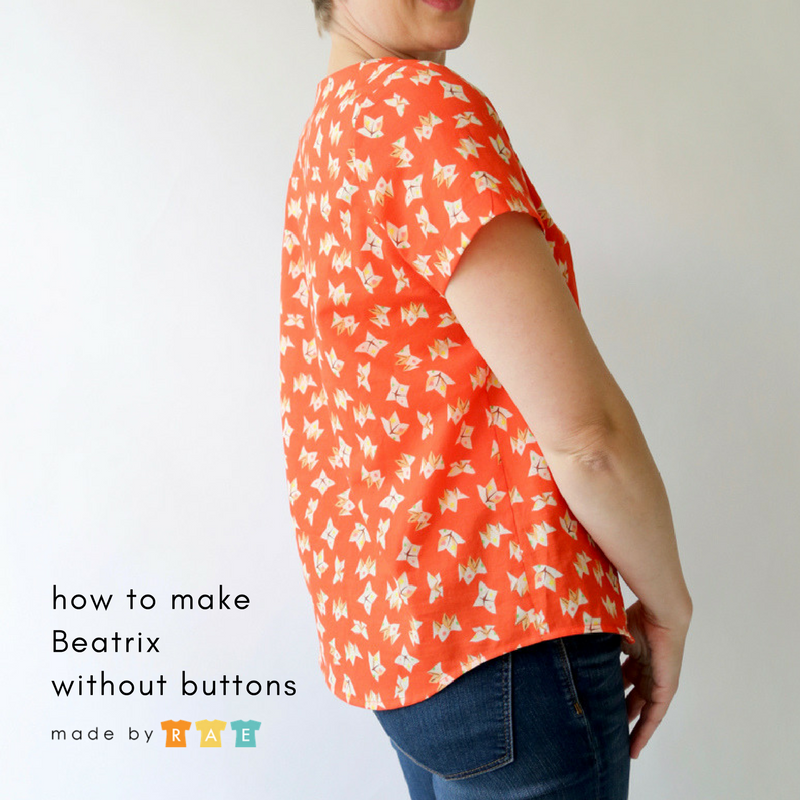
How to make Beatrix without buttons
At its essence, my Beatrix pattern is a very simple silhouette: fitted sleeves and a bodice with bust darts for shaping. The buttons in the back and hem and sleeve bands are really mere embellishment; they add stylistic elements to the pattern, but they don’t affect the overall shape.
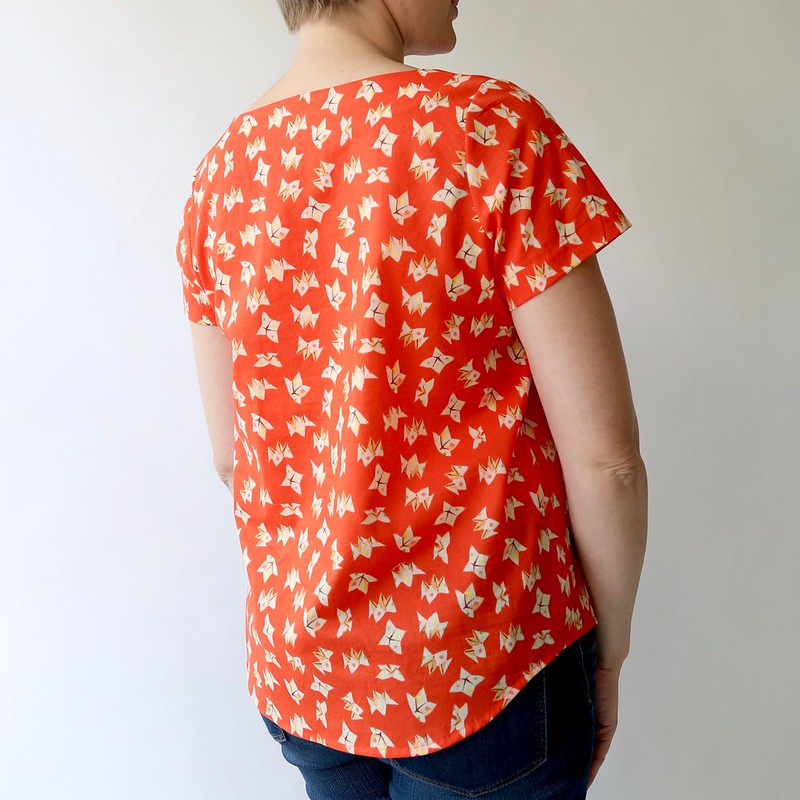
So (no surprise!) it’s very, very easy to make a Beatrix without the buttons in the back to create a simple pullover top! Maybe you’re intimidated by buttons, or a beginner sewist, or maybe you just want a quick project and don’t want to take the time to add those buttons. I also like to make Beatrix without buttons if I’m using a rayon or a slippery fabric that might make it tricky to add the buttonholes.
How to make Beatrix without buttons
Here’s a quick how-to!
You will need:
Beatrix sewing pattern (you can buy it as a PDF in my shop, or ask your favorite local shop if they carry the print version!)
fabric (I used Sleeping Porch lawn by Heather Ross for this sample)
lightweight fusible interfacing (see this post for my favorite kind)
Cut out your pieces:
Use your Beatrix pattern to cut out a FRONT and two SLEEVES (choose either length) from your fabric.
Cut one (note!! ONLY ONE!) BACK piece by placing the fold along the line labeled “center back” instead of cutting two back pieces out. This will create a back piece that is all one piece, and eliminates the extra fabric you would normally use to create the button placket.
Beatrix without buttons
Cut one FRONT FACING and one BACK FACING out on the fold. Line up the edge of the back facing along the fold, instead of cutting two as indicated on the pattern piece.
Beatrix without buttons
AH GAH THAT PHOTO IS GIVING ME HIVES BECAUSE I LEFT MY OLFA CUTTER OPEN. NEVER. EVER. DO. THIS!!!
From your interfacing, cut out a front facing and a back facing, also both on the fold. You now have four facing pieces: two fabric, and two interfacing.
beatrix without buttons
Sew it together
Sew the darts, shoulders, and side seams as indicated in the pattern (you can also see these steps in Day 4 of the Beatrixalong). Staystitch the neckline and armholes.
Beatrix facings
Apply the interfacing to the front and back facings, and sew them together at the shoulders. Check out my SUPER FUN FACINGS TRICK if you want to create a lovely finished edge like the one shown in this post.
Beatrix bodice
Now we’ll add the facings to the neckline. Pin them to the outside of the bodice with right sides together.
f1838336
Sew all the way around the neckline with a 1/4″ seam allowance.
Beatrix without buttons tutorial
Beatrix without buttons
Clip the neckline.
Understitch the neckline: press the facing and neckline seam allowances away from the bodice and stitch through all three layers — facing + seam allowances — just inside the seam line, at about 1/8″ away from the edge. Because of the clipped seam allowances, I find it easiest to do this with the facing on top and the seam allowances below. It’s a bit hard to see what’s happening in the photo below, but the facing and seam allowances are on the right, and the main blouse is on the left in this photo. I’m stitching 1/8″ away from the seam; at the bottom of the photo you can see where my stitches are visible:
Beatrix without buttons
Here’s what it looks like after understitching, below. More pics of understitching can be found in my Day 6 Beatrixalong post.
Beatrix without buttons
Press the facings to the inside of the blouse and tack them down along the shoulder seams.
Beatrix without buttons
Then add the sleeves (I like to hem them before attaching them)!
and finish the hem as indicated in the pattern.
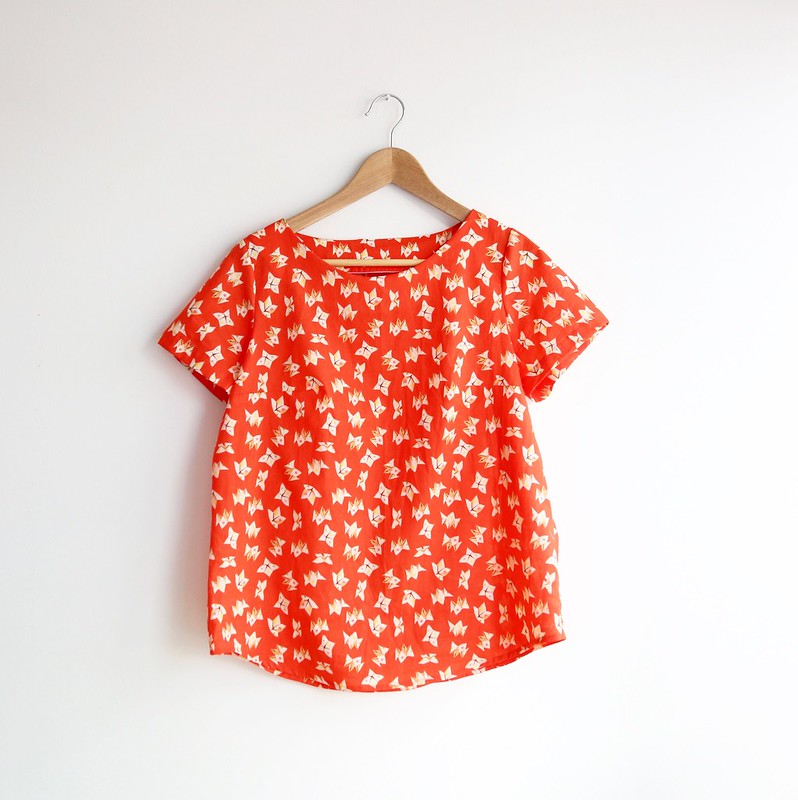
Voila! Quick and easy Beatrix without buttons!
How to make Beatrix without buttons
You can find all of the tutorials relating to Beatrix over on my Beatrix page, or visit my shop to purchase a copy of the Beatrix sewing pattern.
How to make Beatrix without buttons


