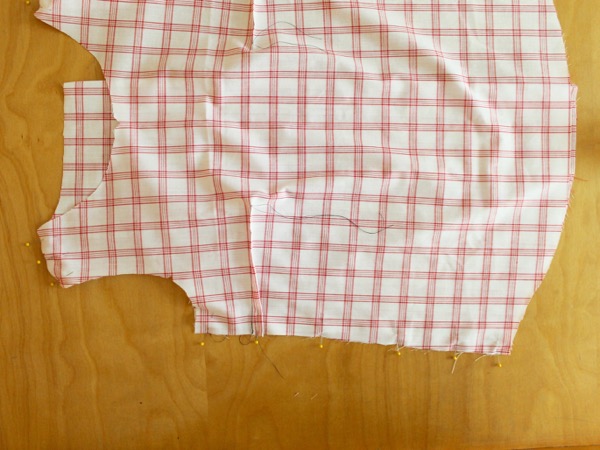
Beatrixalong Day 4: Darts, shoulder and side seams
Happy Monday!! Sorry for the late start today. Feeling the Monday-ness of today if you know what I mean. It’s Day 4 of the #Beatrixalong!
If you’re just joining us, we’re sewing with my newest pattern, Beatrix. You can find the introductory post here with basic info and a timeline for the sewalong. And here are Day 1, Day 2, and Day 3 if you want to go back and see what we’ve done already.
Beatrixalong
Today it’s all about darts and seams. We’re going to:
Sew the bust darts
Sew shoulder and side seams
Staystitch neckline
So first, fold your front bodice so that the dart markings line up at the side seams and pin. Don’t skip pinning here, it’s super important!! I also find it helpful to press that fold.
Beatrixalong Day 4
And then, starting from the side seam, stitch towards the point of the dart.
One thing I like to do as I approach the end of the dart (about 1/2″ from the end) is lower my stitch length so it’s teeny tiny, and curve my stitch line slightly so that it starts to run parallel with the fold of the fabric, so that those last two or three stitches just *barely* catch the edge of the fold. This is incredibly hard to photograph, but it helps prevent that little pucker you see at the end of the dart sometimes. Maybe you can see how the stitches run along the fold at the very end in this next photo where I’ve got the dart over my pressing ham:
I also like to carefully tie the dart threads in a little knot, but you have to be really careful not to pull too tight as you tie the knot or you’ll make a little pucker!) when I’m finished rather than backstitching at the end of the dart (a BIG no-no, you’ll get a pucker for sure if you do this).
OK, let’s discuss this pressing ham thingy. You can see my cheap Dritz-brand pressing ham from JoAnn, on the ironing board below. You can see that I’ve got the white side up; the plaid side is for woolen fabrics, and the white side is for cottons, so I use that side for most of my pressing. When you’re pressing darts or any part of a garment that isn’t flat (such as the shoulder or sleeve cap), it’s really helpful to have a pressing ham, so I really recommend that you get one if you plan on sewing garments!
Starting at the point of the dart, press the dart over the end of the ham. This will help make sure that the bust of the bodice has the same curvature as you do. You simply cannot get this same shape by pressing a dart on a flat surface, so I can’t recommend this enough!
Beatrixalong Day 4
Next we will sew the shoulder and side seams
I’m not gonna lie to you, I usually don’t pin these two seams, but I’m showing it pinned below anyway. I find that holding it together with my hands (hand-pinning? is that even a thing??) works just fine. Maybe one or two pins on the side seams if you’re worried about seam creep.
Beatrixalong Day 5
Beatrixalong Day 5
Then sew them together, backstitching at the beginning and end of each seam, and press those seams. I don’t skip pressing each seam. It makes a difference, believe me.
Note: If you’d like to try the bodice on at this point to check fit (I highly recommend this), please staystitch the neckline before you try it on to prevent inadvertent neckline stretching. Scroll down to the end of this post for a pic.
{I recommend doing this before finishing the seams, but I forgot to staystitch in the correct order for these photos…sorry for any confusion.}
Once you check your fit, make any necessary adjustments before moving on!
Beatrixalong Day 5
Finish your seams
Now it’s time to finish your seams using your favorite seam-finishing method. You can refer to the Seam Finish Appendix included in your pattern for some suggested finishes. If you’d like to see some photos of a few of those finishes, check out my Super Seams post. Here’s a zig-zag finish:
Beatrixalong Day 5
Beatrixalong Day 5
And here’s the one I use most frequently, the overlock stitch from my serger:
Beatrixalong Day 5
Beatrixalong Day 5
Staystitch the neckline
Staystitching is something that can really be done as soon as you cut your pieces out (many people recommend this), but in the pattern I recommend doing it right after you sew the shoulder seams. I realize this is a rather liberal view, but the point is to stabilize the neckline before you do any fit-checking, which can stretch out that neck even if you’re really careful. I like to do it after the shoulder seams just because then you can do the entire neckline all in one go (I completely respect your right to disagree with me on this; I am admittedly a Flaming Staystitching Liberal). For staystitching, I sew 1/8″ from the neckline edge with a normal machine stitch. Don’t use a basting stitch — you don’t want to gather, just stabilize.
Beatrixalong Day 4
OK, let’s review today’s assignment:
Sew bust darts
Sew shoulder seams and side seams
Staystitch neckline and try it on to check fit
Finish your seams
And here’s your extra credit assignment:
5. Post a photo (crappy phone pics are fine) to Facebook, Instagram, or Flickr showing me hard evidence you’ve done something from today’s sewalong post with the tag #beatrixalong. If you blog about it, post a link in comments.
Remember, you can sign up to receive my blog posts via email here so you won’t miss any of the sewalong posts!


